
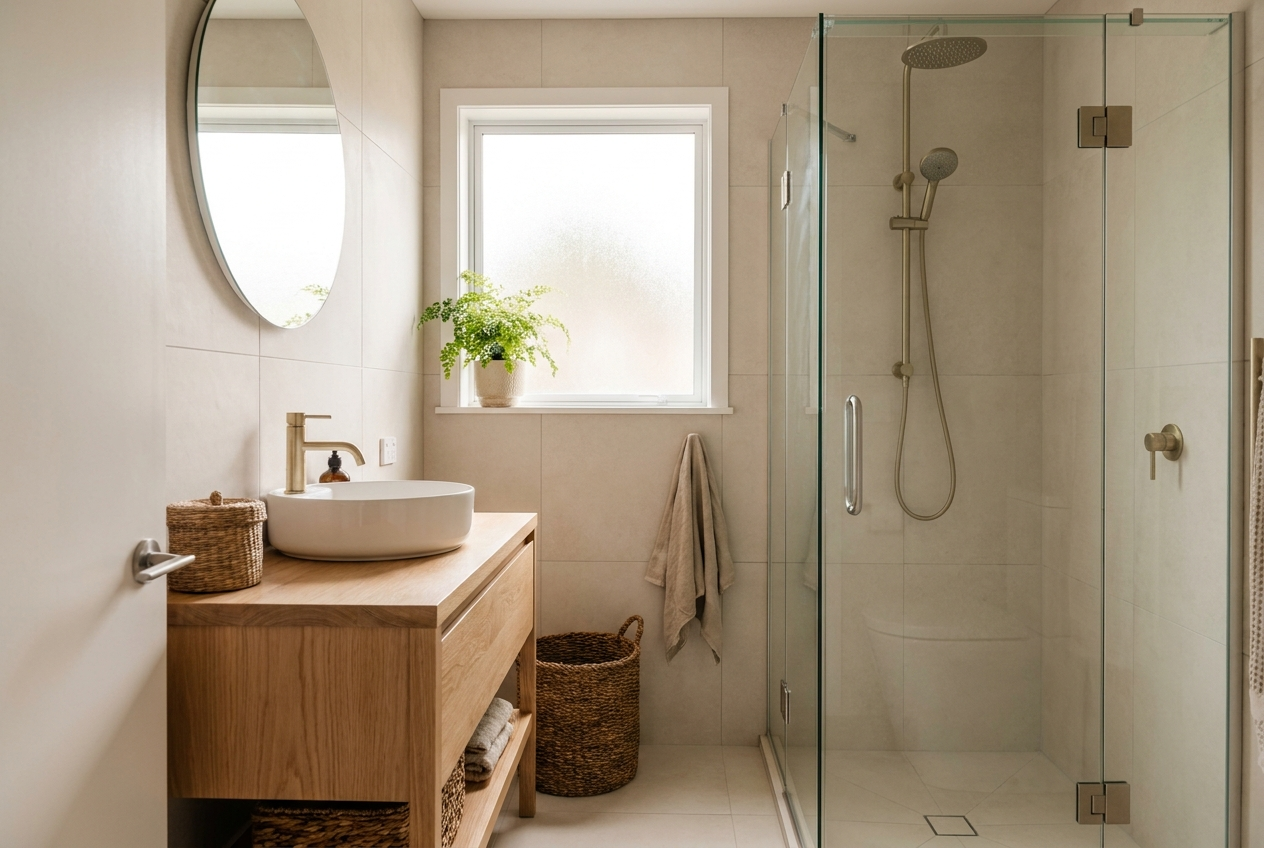
Bathroom reno on a budget? Learn where to spend and save, and get the look without the luxury price tag.
Renovating your bathroom doesn’t have to cost a fortune. With clever planning and the right materials, you can achieve a beautiful, functional space without overspending.
Here’s your guide to an affordable bathroom renovation NZ homeowners can actually pull off—where to splurge, where to save, and how to avoid costly mistakes.

💸 Start With a Realistic Budget
First, decide what “affordable” means to you. In 2026, most budget-conscious bathroom renovations in Auckland fall between $18,000 and $25,000, depending on size and scope.
👉 See our full Bathroom Renovation Cost Breakdown here
🧠 Where to Spend
1. Waterproofing & Plumbing
Cut corners here and you’ll pay for it later. Always use qualified trades for waterproofing, and ensure plumbing is correctly relocated or capped.
2. Lighting & Ventilation
Good lighting and an effective extraction fan will keep your bathroom mould-free and fresh. Upgrade these early—they make a big difference in how the space feels.
3. Vanity & Storage
A solid vanity with decent storage is essential. Go for soft-close drawers, water-resistant materials, and a style that suits your home long term.
💡 Where to Save
1. Stick to the Existing Layout
Keeping your toilet, shower, and vanity in the same positions saves thousands in plumbing changes.
2. Mix High + Low Finishes
Pair a designer-look vanity with basic white wall tiles. Use premium tapware on an affordable basin. Contrast creates visual interest without a high-end budget.
3. Prefab Shower Units
If you’re not set on tiled showers, prefabricated acrylic or composite units are fast to install, watertight, and easy to clean.
4. Choose Tile Wisely
Go for large-format matte porcelain tiles for the floor and basic white tiles for the walls. They’re affordable, low-maintenance, and still look polished.
🧼 Styling Tricks on a Budget
Use a round or pill-shaped mirror to soften the space
Add matte black or brushed tapware for a modern look
Choose one feature element—like a coloured vanity or fun tile
Use open shelving or hooks instead of full cabinetry where possible
Add layered lighting (mirror light + ceiling LED) to enhance the vibe
You don’t need to spend $50K to get a Pinterest-worthy bathroom.
✅ Bonus Tips for Cost Control
Get a fixed-price quote to avoid blowouts
Lock in your design early—changing your mind mid-project adds up
Shop early for fixtures to avoid delays or rush fees
Ask your builder for trade discounts on tiles or fittings
Ready to Renovate Smarter?
At Key Interiors, we help Auckland homeowners get the most out of their budget—without cutting corners. From layout tweaks to smart material selections, we’ll guide you through the entire process.
👉 Explore our bathroom renovation services
Know where the money actually goes before you start cutting
People try to save on the wrong half of the job. In a typical Auckland bathroom, the visible fittings are a surprisingly small slice of the total. Most of the cost is labour and the work you will never see again: stripping out, repairing the substrate, plumbing and electrical rough-in, waterproofing, tiling, and making good.
That matters because it tells you where savings are actually available. Choosing a $400 vanity instead of a $1,200 one saves $800 on a job costing tens of thousands. Changing the layout so the plumber does not have to move a soil pipe can save several times that.
The cheap-looking savings are small. The real savings are decisions.
The five things never to cut
Waterproofing. Covered by clause E3 of the Building Code. A failed membrane is not a repair, it is the whole room out again, and often the floor structure and the room next door with it. This is the worst possible place to save $1,500.
The floor falls. The gradient to the waste is set before the membrane. Get it wrong and the shower ponds forever, and nothing short of ripping it up fixes it.
Ventilation. An extractor ducted properly to outside. Skip it and you will be cleaning mould off a brand new ceiling within two winters.
The substrate. If the floor under the old bathroom is rotten or well out of level, it has to be fixed. Tiling over a bad substrate guarantees cracked tiles and failed grout.
Qualified trades for the plumbing and electrical. Non-negotiable, and not a place for a mate with a weekend free.
The single biggest saving: don't move the plumbing
If you take one thing from this page, take this. Keeping the toilet, shower and vanity broadly where they already are is worth more than every fitting choice on your list combined.
The toilet is the expensive one. Its soil pipe is large, needs consistent fall, and usually runs through joists or straight out to a gully trap. Moving it can mean cutting a slab or reworking floor structure, and it can push the job into needing consent that a like-for-like replacement would not have needed.
Basin and shower wastes are more forgiving and can often move a short distance cheaply. So if the current layout is nearly right, work with it. If it is genuinely unusable, change it and accept the cost, but do it with your eyes open rather than because a plan looked nicer.
Where you can genuinely save
Tile choice, and tile area. Full floor-to-ceiling tiling everywhere is a big labour cost. Tiling the wet zone properly and painting the rest in a quality moisture-resistant paint looks deliberate and saves real money. Large-format tiles also lay faster than mosaics or small formats, so the labour drops as well as looking calmer in a small room.
One feature, not five. Pick a single thing to spend on, a beautiful tile or a lovely vanity, and keep everything around it simple. Rooms where everything is a feature look busy and cost a fortune.
Off-the-shelf vanity. Quality pre-made vanities are genuinely good now. Custom joinery earns its money when the space is an odd size or you need specific storage, which in a villa it often is, but in a standard alcove it is a straight saving.
Tapware. Mid-range from a reputable brand with available spare parts beats both the bargain bin and the designer piece. Chrome is cheaper than brushed finishes and it never dates.
Keep the bath if it is sound. Re-enamelling or simply reusing a good bath saves the unit and the plumbing changes around it.
Do the unskilled work yourself. Demolition, rubbish runs, and painting at the end. Not tiling, not waterproofing, not plumbing.
Buy the fittings in one go. Merchants discount a full bathroom package far more than individual items.
Be honest about the numbers
A proper Auckland bathroom renovation generally starts around $35,000 for a compact main bathroom or ensuite done properly, with the range running to roughly $90,000 at the top end. Those figures are in our bathroom renovation cost guide.
So "budget" in this context means spending well rather than spending little. A quote well under that band for a full renovation usually means the waterproofing or the tiling has been thinned out, and those are exactly the two things you cannot see and cannot cheaply fix later.
If your budget is genuinely below that, the better answer is often a refresh rather than a renovation: keep the layout and the tiles, replace the vanity and tapware, regrout, reseal, replace the extractor, paint, and add good lighting and a heated towel rail. That is a few thousand dollars and it transforms how the room feels, without opening up anything you cannot afford to finish.
If it is a villa or bungalow, the cheap option may not exist
Worth saying plainly. In a character home the bathroom is usually in the lean-to at the back, on the weakest structure in the house, and the floor is frequently well out of level after a century of pile movement.
You cannot tile a level bathroom onto an unlevel floor. So relevelling or building up the floor is not an upgrade you can decline, it is the starting point. The same goes for asbestos testing before you demolish a bathroom last done in the 1970s.
That is why budget advice written for a modern house can be misleading on an older Auckland home, and why a walk-through quote that does not mention the subfloor should make you suspicious rather than pleased. Our villa renovation guide covers what is usually lurking.
What cutting the wrong corner looks like three years on
Dark staining at the base of the shower wall, or a soft patch on the hallway floor outside. That is the membrane.
Water sitting in the shower after use. That is the falls.
Black spotting on the ceiling and around the window. That is the ventilation.
Cracked grout lines and drummy-sounding tiles. That is the substrate.
Tapware you cannot get a cartridge for. That is the bargain bin.
Every one of those costs more to fix than it would have cost to do properly, because fixing it means undoing the work that sits on top.
Not sure what your bathroom should cost? Our free estimator gives you a tailored range on real Auckland pricing, and our bathroom renovation page shows how we scope a job.
Frequently Asked Questions
Can I renovate a bathroom for under $20K in Auckland?
Yes—if you keep the existing layout, use prefabricated fixtures, and choose mid-range materials, you can renovate for $18,000–$25,000 in most cases.
What’s the most expensive part of a bathroom renovation?
Plumbing changes, tiled showers, and custom cabinetry usually drive costs up. We recommend splurging only where it adds long-term value.
Is tiling always necessary?
Not always. In small or budget bathrooms, you can use paint-rated wet area walls or acrylic shower liners to save money while still looking sharp.
How can I make a budget bathroom feel high-end?
Use contrast—like matte black tapware on white tiles, or wood-look finishes with clean white walls. Good lighting and a stylish mirror also make a big impact.