
Built-In Wardrobe Cost in NZ: Prices, Layouts and What’s Worth Paying For
If you've started pricing storage for a bedroom, you'll have noticed the built-in wardrobe cost in NZ swings wildly — one quote comes back at $1,800, the next at $12,000, and nothing explains the gap. It isn't a scam either way. The two quotes are usually describing completely different things: a shelf-and-rail fit-out in an existing alcove versus a full wall of custom joinery, scribed to an out-of-square villa and fitted out properly inside.
Here's what built-in wardrobes actually cost in Auckland in 2026, what drives the number up or down, which layout suits New Zealand bedrooms, and the one local problem that quietly ruins wardrobes here.
What a built-in wardrobe costs in NZ (indicative 2026 ranges)
All figures below are indicative Auckland ranges including GST, supplied and installed. Your number depends on width, height, material and internals — treat these as a planning bracket, not a quote.
Wardrobe organiser / reach-in fit-out — from around $1,000–$3,000
You already have a lined alcove with doors. This is a melamine internal system: a couple of towers, adjustable shelves, hanging rails, maybe a drawer bank. The cheapest way to make an existing wardrobe work far harder.
Custom built-in wardrobe wall — around $3,500–$8,000
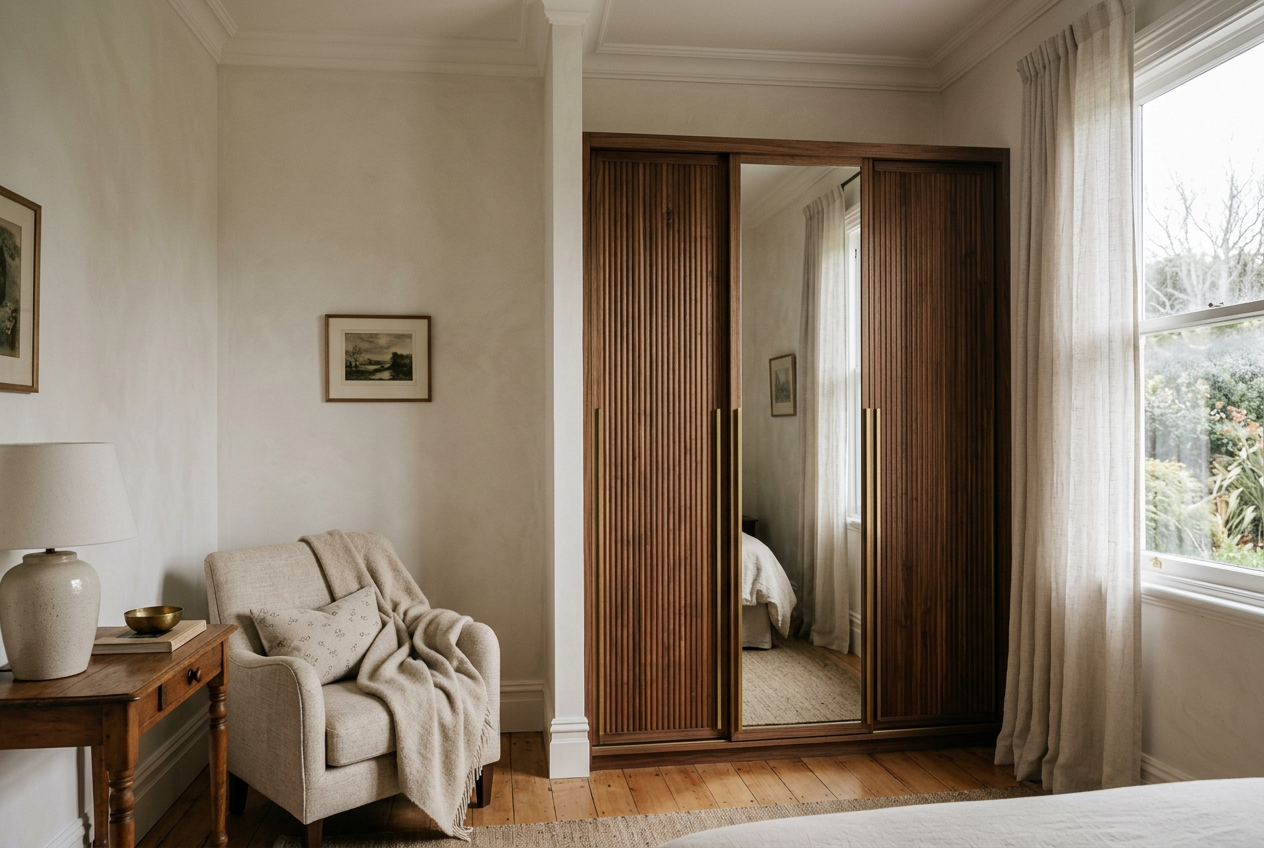
A new wall of joinery, typically 2.5–3.5m wide and floor-to-ceiling, with a melamine carcass and laminate, painted or fluted doors. Hinged or sliding. This is the sweet spot for most bedrooms and where the majority of Auckland jobs land.
Premium custom wardrobe joinery — around $8,000–$15,000+
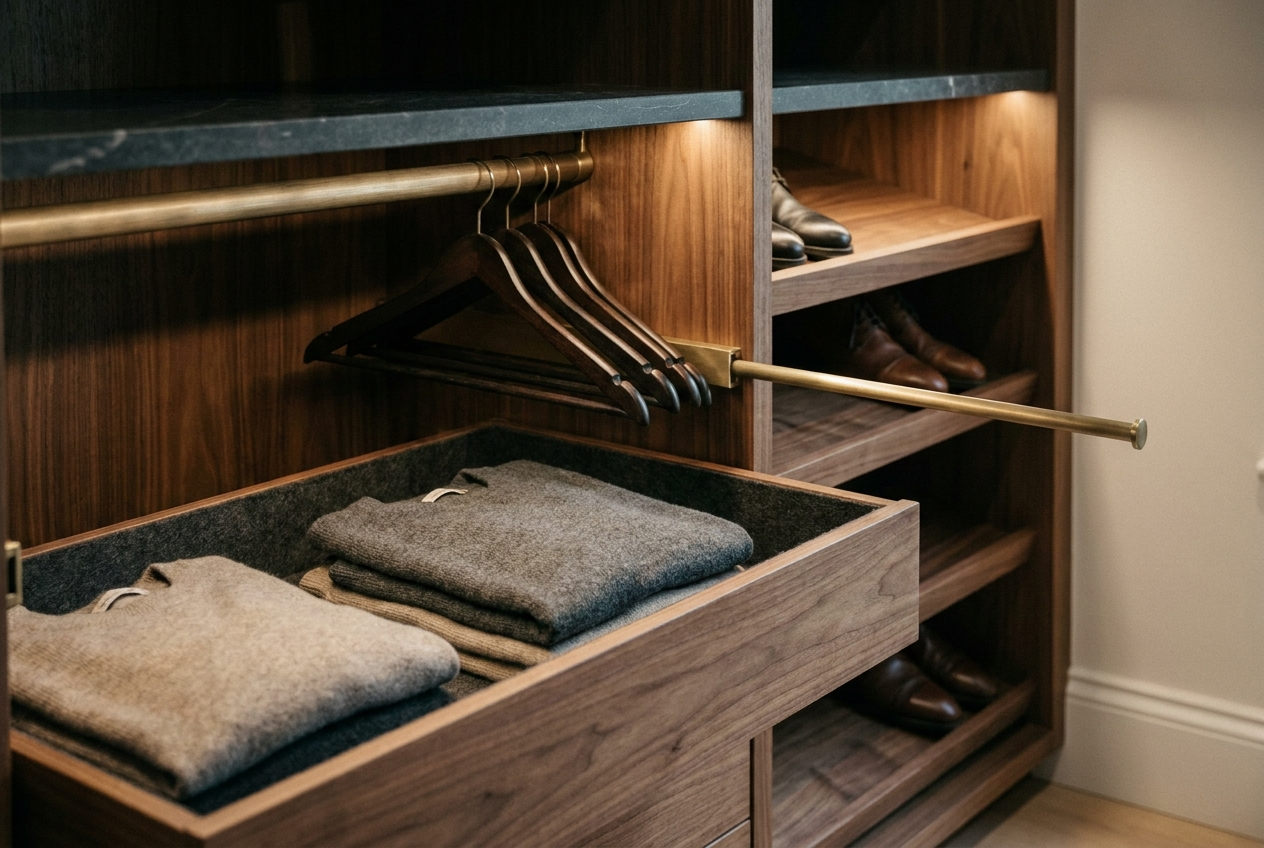
Timber veneer or hand-painted fronts, soft-close everywhere, integrated LED lighting, felt-lined drawers, quality European hardware, shadow-line detailing and a scribed, seamless install. This is the tier that reads as architecture rather than furniture.
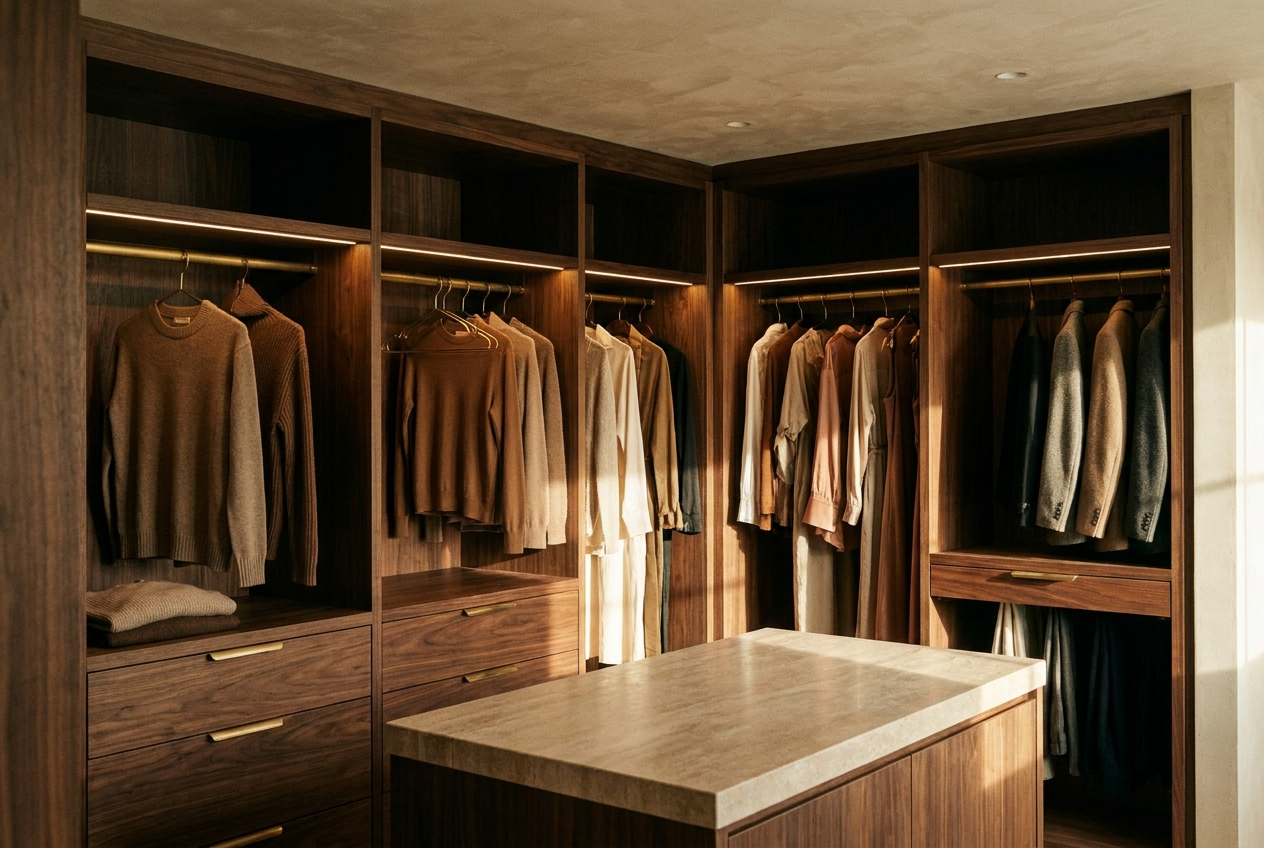
Walk-in wardrobe fit-out — around $6,000–$18,000+
Open shelving, double-hang runs, drawer banks, shoe shelving and sometimes a low island. Cost tracks the linear metres of joinery, not the room's floor area — a small, well-organised walk-in can cost less than a wide reach-in wall.
For context against the rest of a project: a bathroom renovation with Key Interiors starts from around $25,000 and a kitchen from around $35,000, so wardrobes are often the most affordable line item in a whole-home renovation — and frequently the one clients say they notice most every single morning. If you want a tailored number across the whole job, our renovation estimator is the fastest starting point.
The five things that actually drive the price
1. Linear metres. Wardrobe joinery is priced largely by the metre. Going from 2.4m to 3.6m of wall adds roughly 50% to the carcass and door cost. Height matters too — running to a 2.7m villa ceiling instead of stopping at 2.1m adds material, but buys you a huge amount of seasonal storage.
2. Carcass and door material. Melamine carcass with laminate doors is the value benchmark. Painted MDF costs more (it's a two-stage process — build, then spray). Timber veneer sits at the top, and real timber grain on a 2.7m door is what separates a premium wardrobe from a good one.
3. Door type. Hinged doors are the cheapest and give you full access to the opening. Sliding doors cost more per metre and permanently lose you around 100mm of depth to the track, but they're the right answer when there's no room to swing a door. Cavity or bi-fold doors sit higher again.
4. Internals and hardware. This is where budgets quietly double. Soft-close drawers, pull-out valet rods, angled shoe shelving, felt drawer inserts, sensor lighting and jewellery trays are all lovely and none of them are free. Choose deliberately.
5. Install complexity. In an Auckland villa or bungalow, nothing is square, ceilings undulate and skirtings are ornate. A proper install scribes the joinery to the actual walls so there's no light gap and no filler strip. That takes time on site, and it's the difference between joinery that looks built-in and joinery that looks bought.
Reach-in, wall-to-wall or walk-in? Choosing the layout
Reach-in (alcove) wardrobe. The default in most NZ bedrooms. Standard internal depth is around 600mm — enough to hang a jacket square to the wall. Anything shallower and clothes sit on an angle and crush. If your existing alcove is 450–500mm deep, a sliding-door front and a side-hang rail is usually the fix.
Wall-to-wall joinery. Running full-height joinery across an entire wall gives the most storage per dollar and makes a small room read as calm rather than cluttered. Break the run into a double-hang section (two rails, one above the other, roughly 1,000–1,100mm each), one long-hang section of about 1,500–1,700mm for coats and dresses, and a drawer bank. That mix covers 90% of real wardrobes.
Walk-in wardrobe. Wonderful when the floor plan genuinely supports it — usually by borrowing from an oversized bedroom or reworking a hallway during a bigger renovation. A walk-in needs about 1,000mm of clear circulation between runs; squeeze it below that and drawers won't open properly. If you're weighing this up as part of a larger project, it's worth resolving at design stage with our interior design service rather than after the walls are lined.
Materials that hold up in Auckland homes
Auckland's humidity is hard on cheap board. A quality melamine or moisture-resistant substrate is the sensible baseline for carcasses — it's stable, wipes clean and doesn't telegraph moisture at the edges the way budget board does.
For fronts, matte laminates and painted finishes both do well; just be realistic about fingerprints on very dark, very flat colours. Timber veneer in warm walnut or oak is having a long moment in New Zealand homes and, unlike a trend colour, ages into the room rather than out of it. On hardware, brushed brass and matte black have overtaken chrome in bedrooms, and full-extension soft-close runners are the single upgrade nobody has ever regretted.
The Auckland problem no one warns you about: wardrobes on external walls
This is the local detail that generic advice misses. A sealed wardrobe built against a cold external wall traps a pocket of still, cold air behind the back panel. Warm, moist bedroom air finds that cold surface, condenses on it, and the clothes pressed against it wick the moisture. That's the classic musty smell and the black spotting you find on the back of a wardrobe in late winter — and it's extremely common in older, under-insulated Auckland housing stock.
You design it out rather than clean it up:
Insulate the wall behind the wardrobe properly if the linings are already off during a renovation. This is the single most effective fix and it's nearly free while the wall is open.
Leave an air gap between the back of the joinery and the wall, and don't seal the carcass airtight at the top and bottom.
Add discreet ventilation — a slotted or louvred detail, or a small vented plinth and top rail — so air can move through the cabinet.
Don't cram it. Clothes packed rail-to-rail stop air moving. Leave a finger's width between hangers.
Ventilate the room. Under the Healthy Homes Standards every habitable room needs an openable window, door or skylight with an openable area of at least 5% of the floor area — and a bedroom with the window shut all winter will always find the coldest surface in the room. Often, that's the wardrobe.
What's worth paying for — and what usually isn't
Worth it: running joinery to the ceiling (free storage, no dust ledge); full-extension soft-close drawers; a proper scribed install; sensible internal planning based on what you actually own; good lighting if the wardrobe is deep or dark.
Usually not: motorised or push-to-open everything (more to go wrong, and a handle is not a hardship); wall-to-wall shoe racks unless you genuinely have the shoes; glass fronts in a bedroom, which commit you to a permanently tidy wardrobe; and premium veneer on a rental or a room you're reworking again in five years.
How long does it take, and do you need consent?
For a standalone wardrobe, expect roughly 4–8 weeks from sign-off: measure and design, then manufacture in the workshop, then install. Installation of a single wardrobe is usually one to two days on site, plus a return visit for painting and final adjustment if the fronts are hand-painted.
Building consent is not required for cabinetry itself. You would only be into consent territory if the work involves structural changes — removing or altering a load-bearing wall to create a walk-in, for example. If a wardrobe is part of a wider renovation, it's normally sequenced after linings and flooring and before final paint touch-ups. You can see how it all fits together on our custom joinery in Auckland page.
Frequently asked questions
How much does a built-in wardrobe cost in NZ?
Indicatively, $1,000–$3,000 for a reach-in fit-out, $3,500–$8,000 for a custom built-in wardrobe wall, and $8,000–$15,000+ for premium joinery — all including GST and installation. Walk-in wardrobes typically run $6,000–$18,000+ depending on the linear metres of joinery.
Do built-in wardrobes add value to a house in New Zealand?
They rarely add a dollar-for-dollar valuation bump on their own, but they're a genuine selling advantage — buyers notice storage immediately, and a bedroom without a wardrobe technically isn't a bedroom. On a resale-driven renovation, wardrobes are one of the cheapest ways to make a home feel finished.
Are built-in wardrobes cheaper than freestanding?
Not usually on the invoice, but they're better value per litre of storage. A freestanding unit wastes the space above it and beside it; built-in joinery uses the full height and width of the wall and looks intentional rather than added.
How deep should a built-in wardrobe be?
Around 600mm internally is the standard for hanging clothes square to the wall — roughly 620–650mm externally once you allow for the doors. Sliding doors need a little more again for the track.
Can you put a built-in wardrobe on an external wall?
Yes, and most people have to. Just insulate the wall while it's open, leave an air gap behind the carcass, and build in some ventilation so the cabinet isn't sealed. Skip those steps in an Auckland winter and you'll be dealing with a musty wardrobe within a season.
Planning wardrobes as part of a bigger renovation?
Wardrobes are usually the last thing costed and the first thing lived with. Getting them designed alongside the rest of your project — rather than bolted on at the end — is what makes storage feel effortless instead of squeezed in.
Thinking about custom wardrobes or bedroom joinery in Auckland? Book a free consultation and we'll help you scope it properly — design, cost and timeline, with no obligation. Or if you'd like a ballpark for the whole renovation first, try our free renovation estimator.