
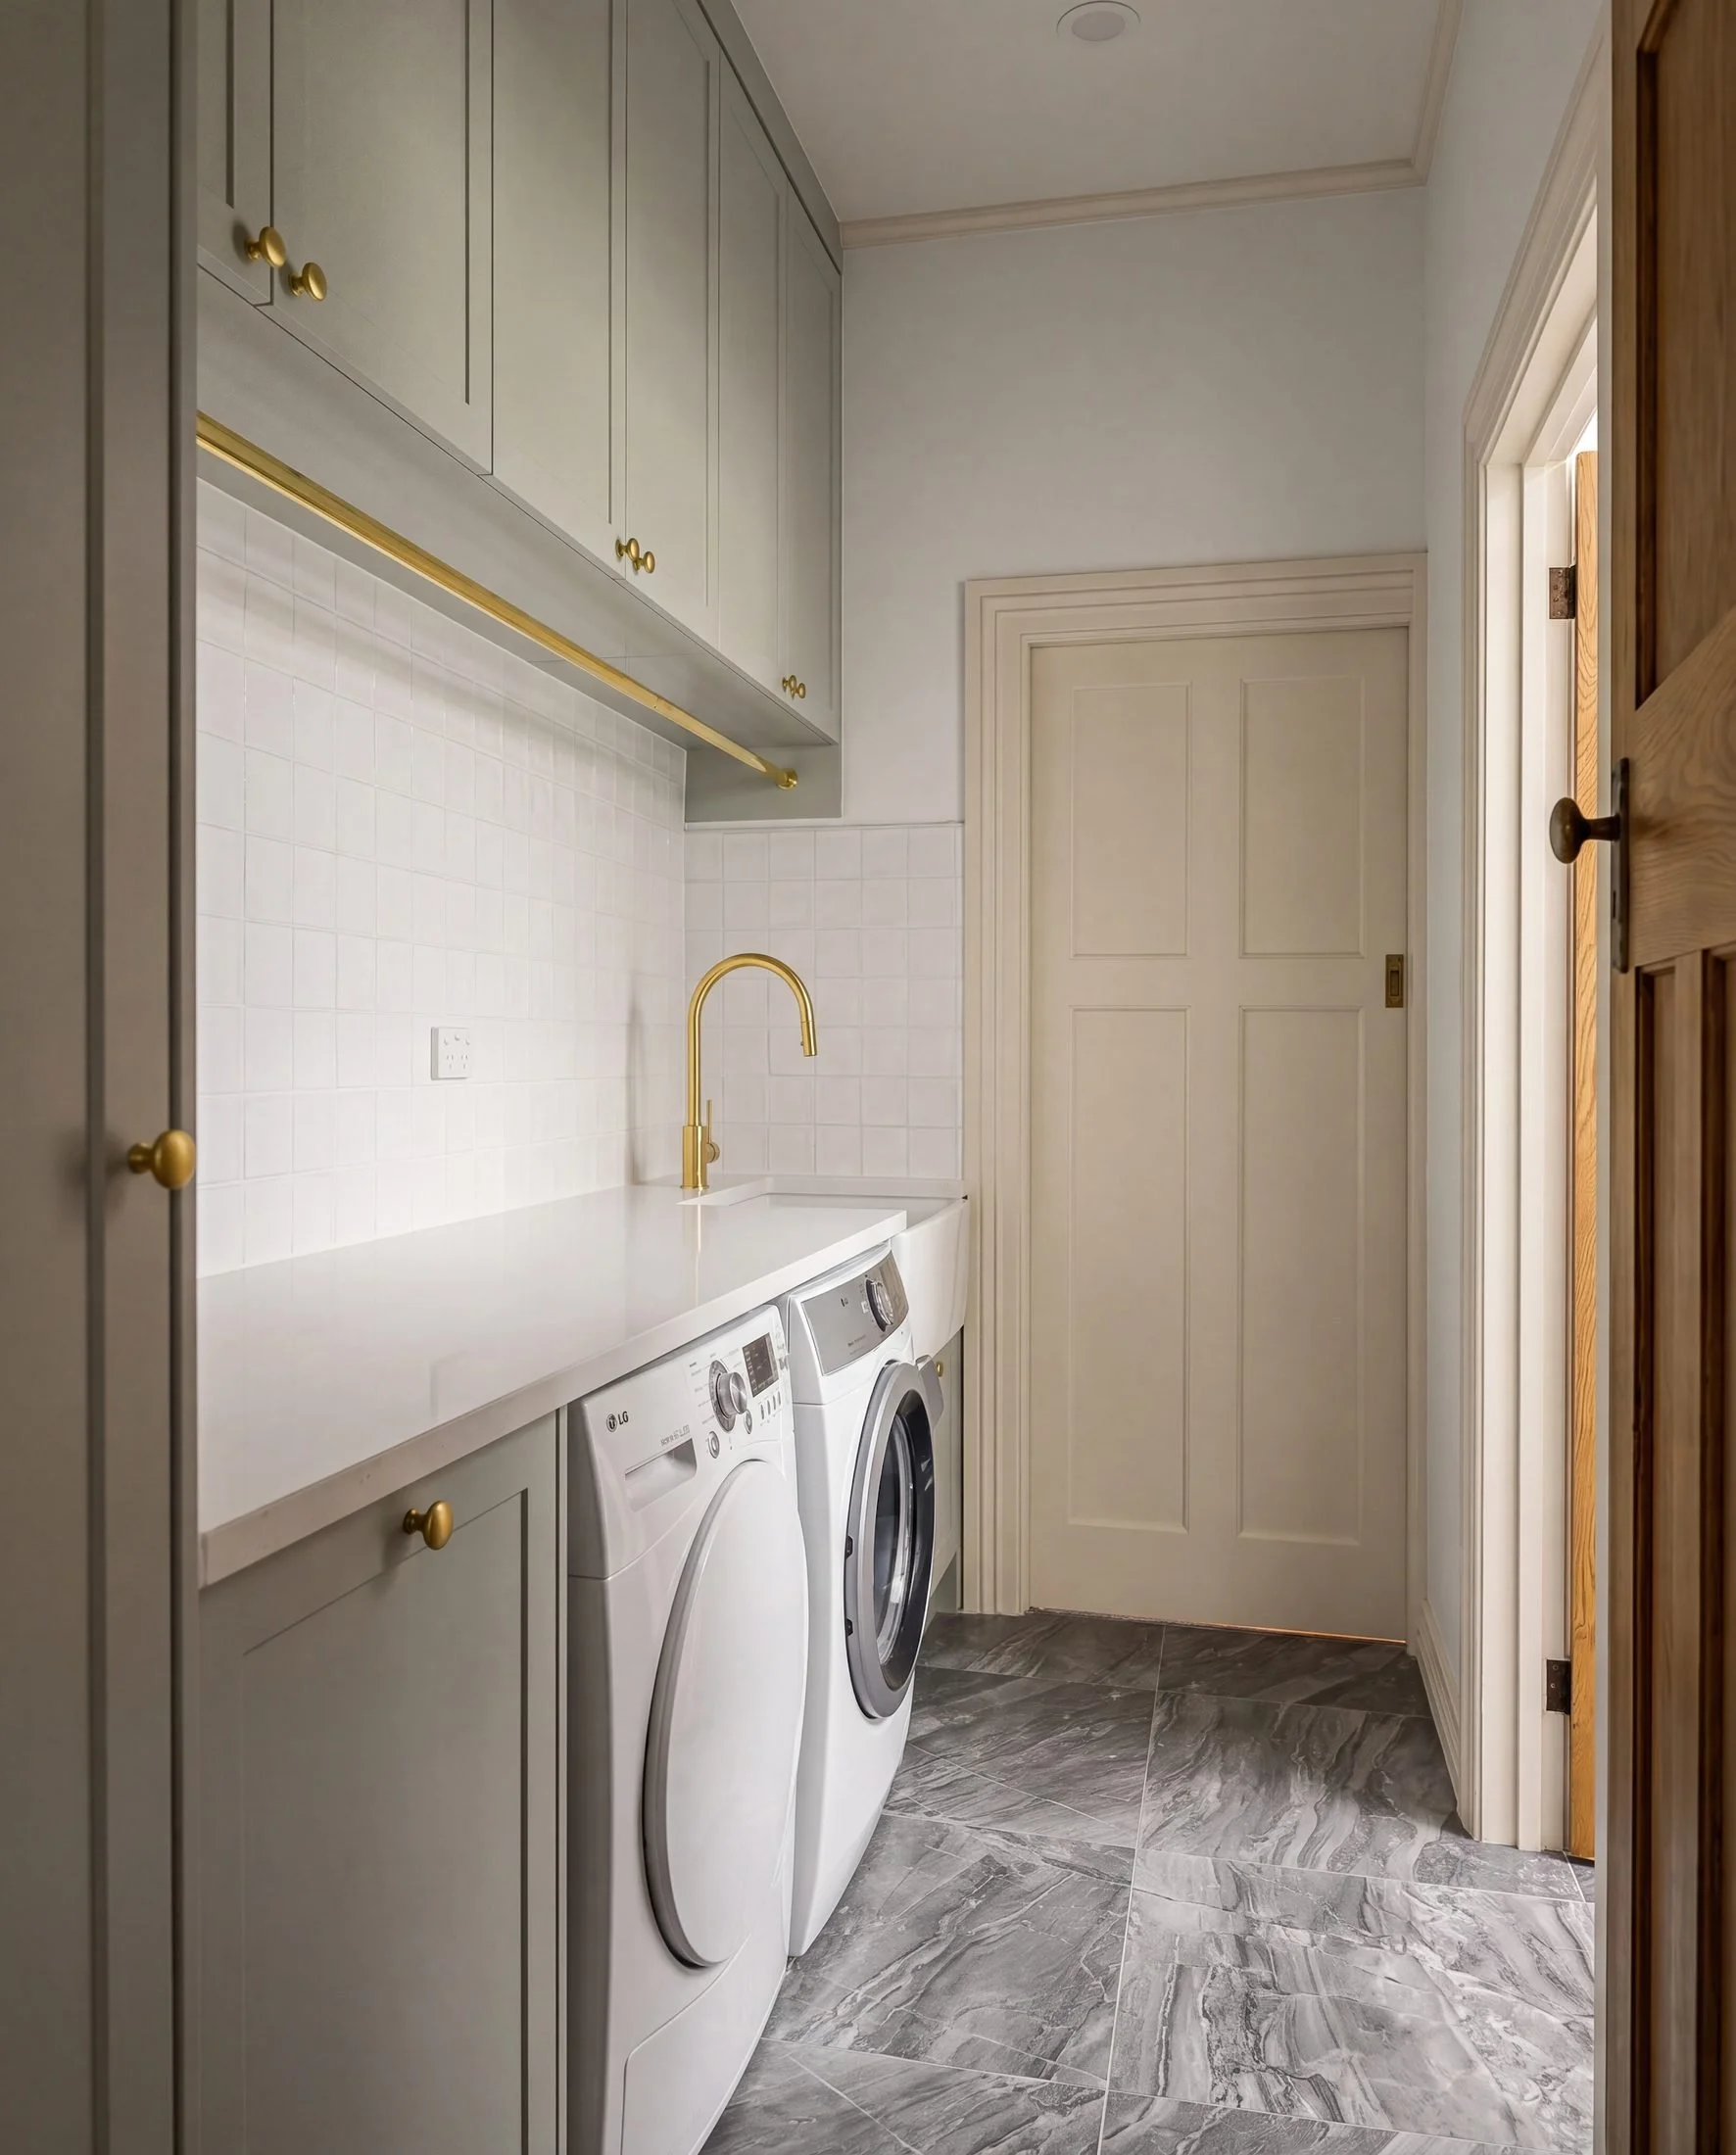
Laundry Renovation in Bayswater: Beresford Street
Where it started
The most-used room in the house was the worst room in the house
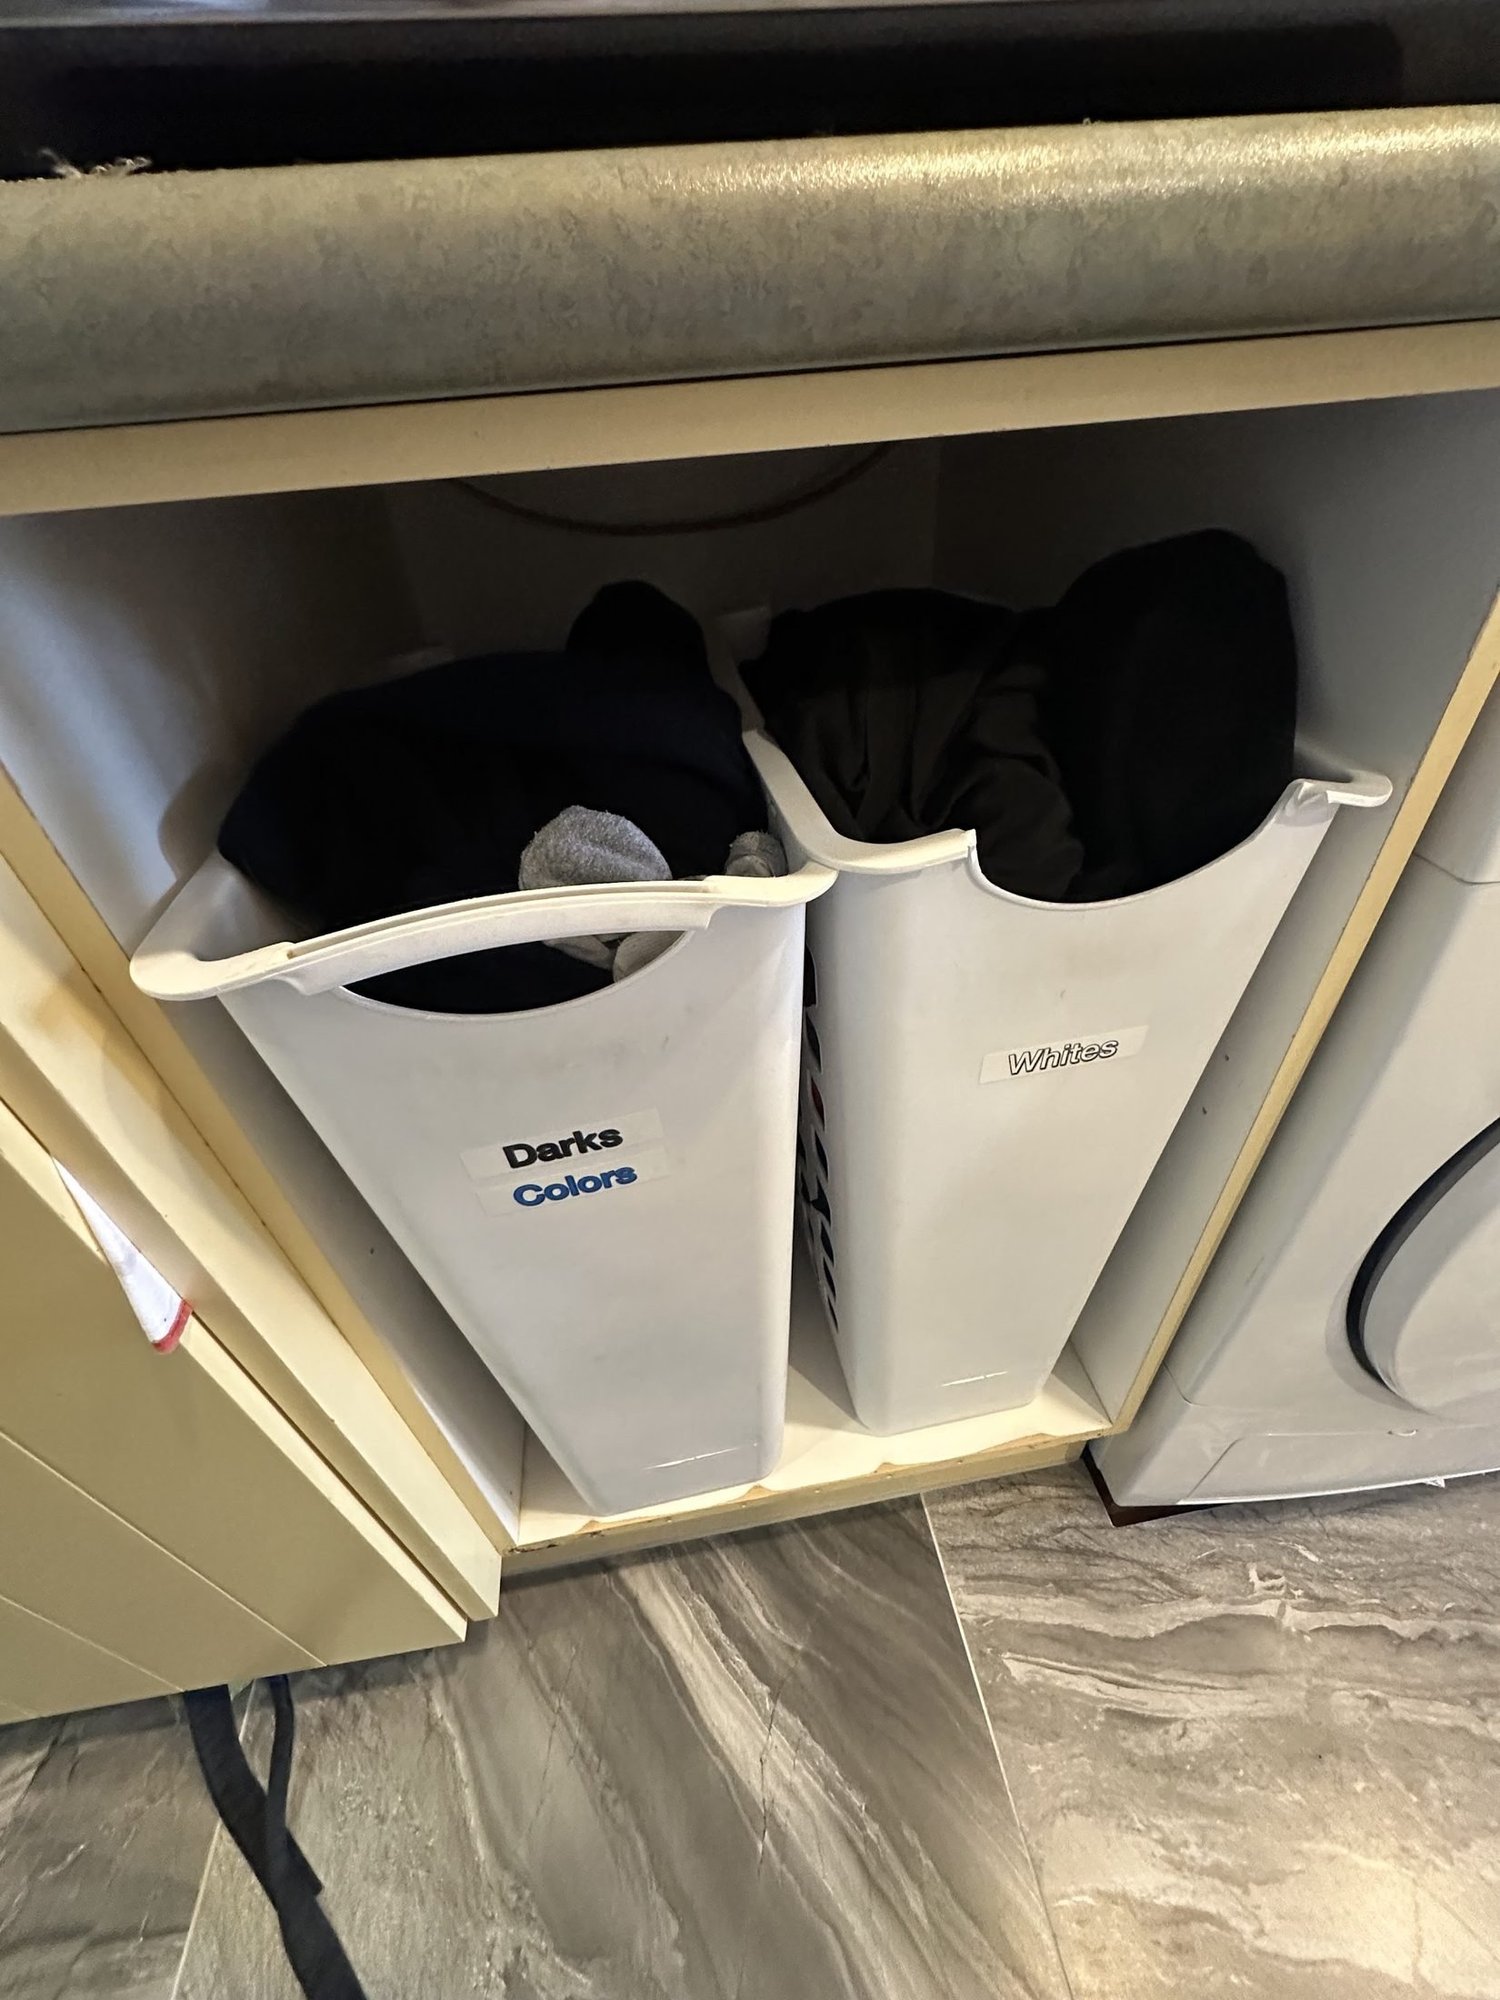
Cream melamine uppers with frosted glass, beige splashback tiles, a shallow stainless tub and a bench you couldn't fold a towel on. Every cupboard was full and none of it was sorted. The plastic pull-out hampers had given up years ago.
The layout wasn't the problem. It's a galley, and a galley is the right answer for a room this shape. The problem was that nothing in it had been chosen. It had accumulated.
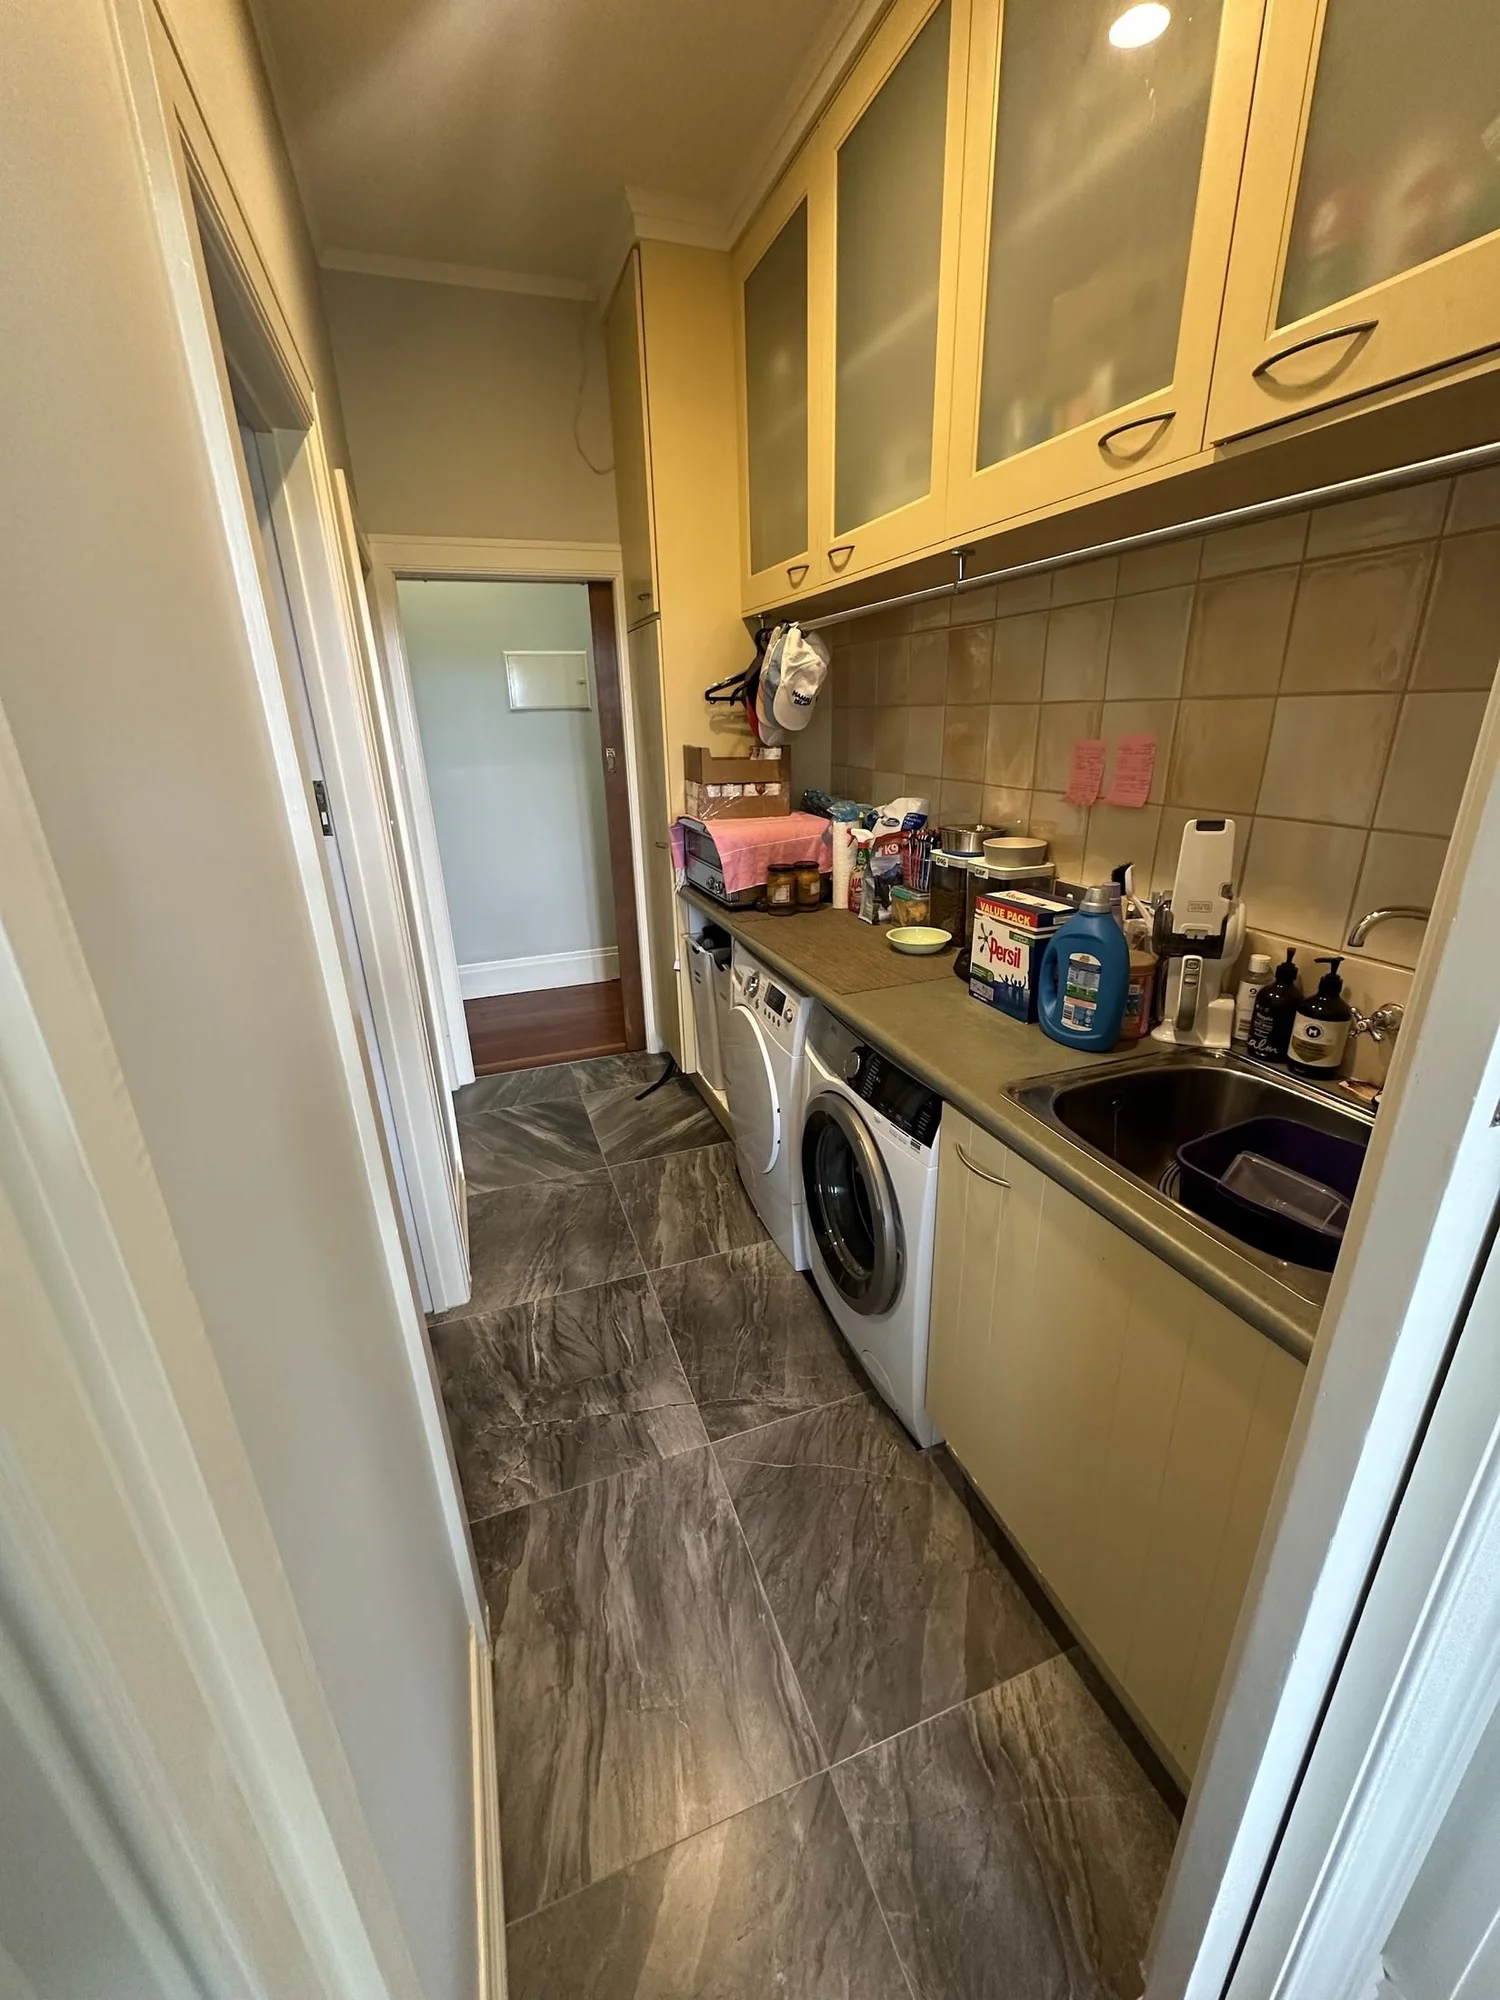
The plan
Designed as one wall, not a row of cupboards
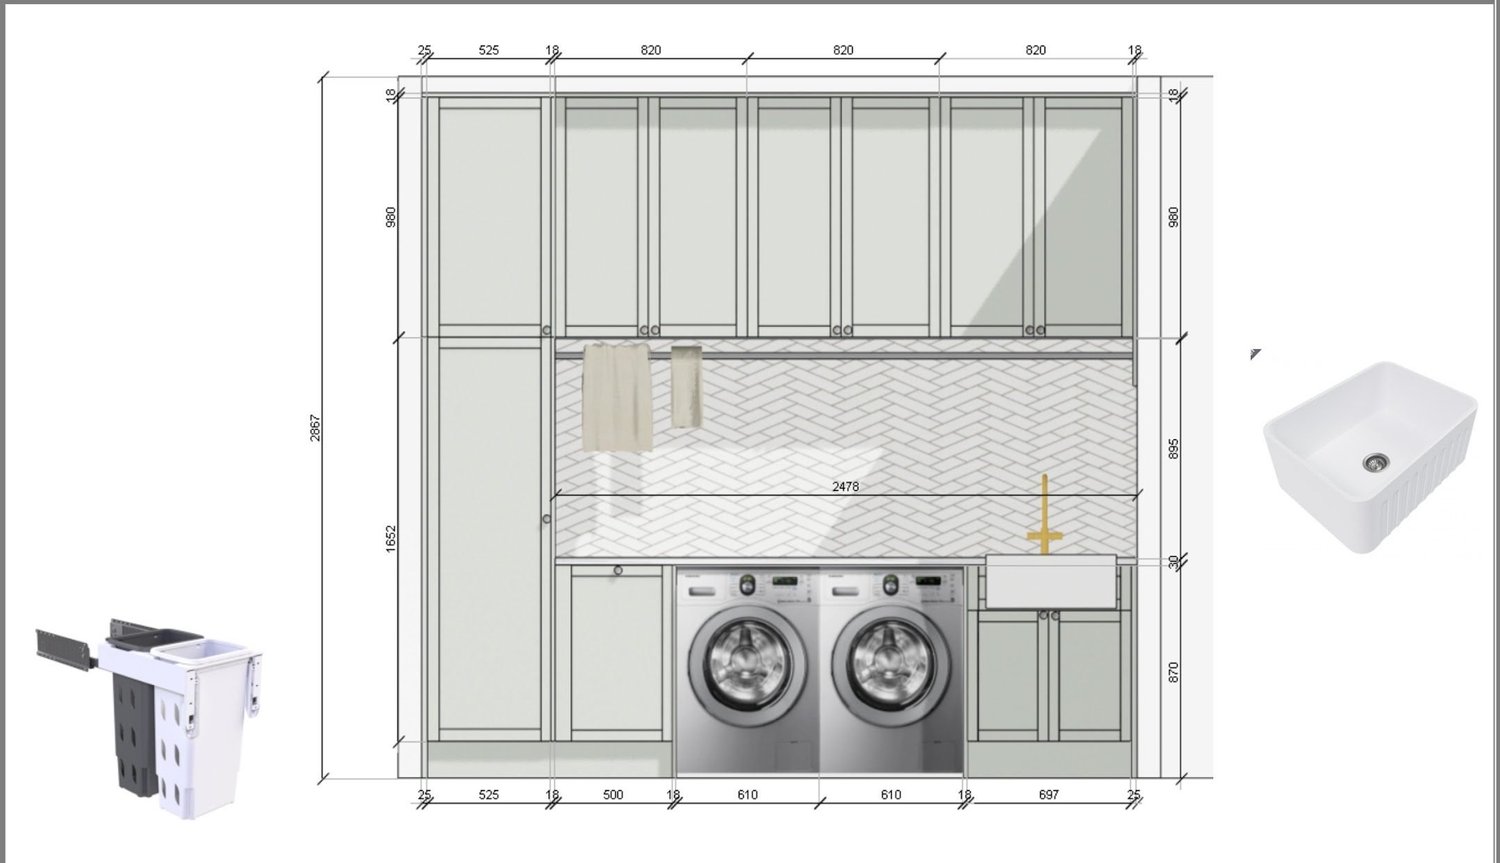
Every laundry we build starts as a drawn elevation with real dimensions on it, because a laundry is won or lost in millimetres. Where the washer sits decides where the bench breaks. Where the bench breaks decides where the sink goes. Where the sink goes decides the tap.
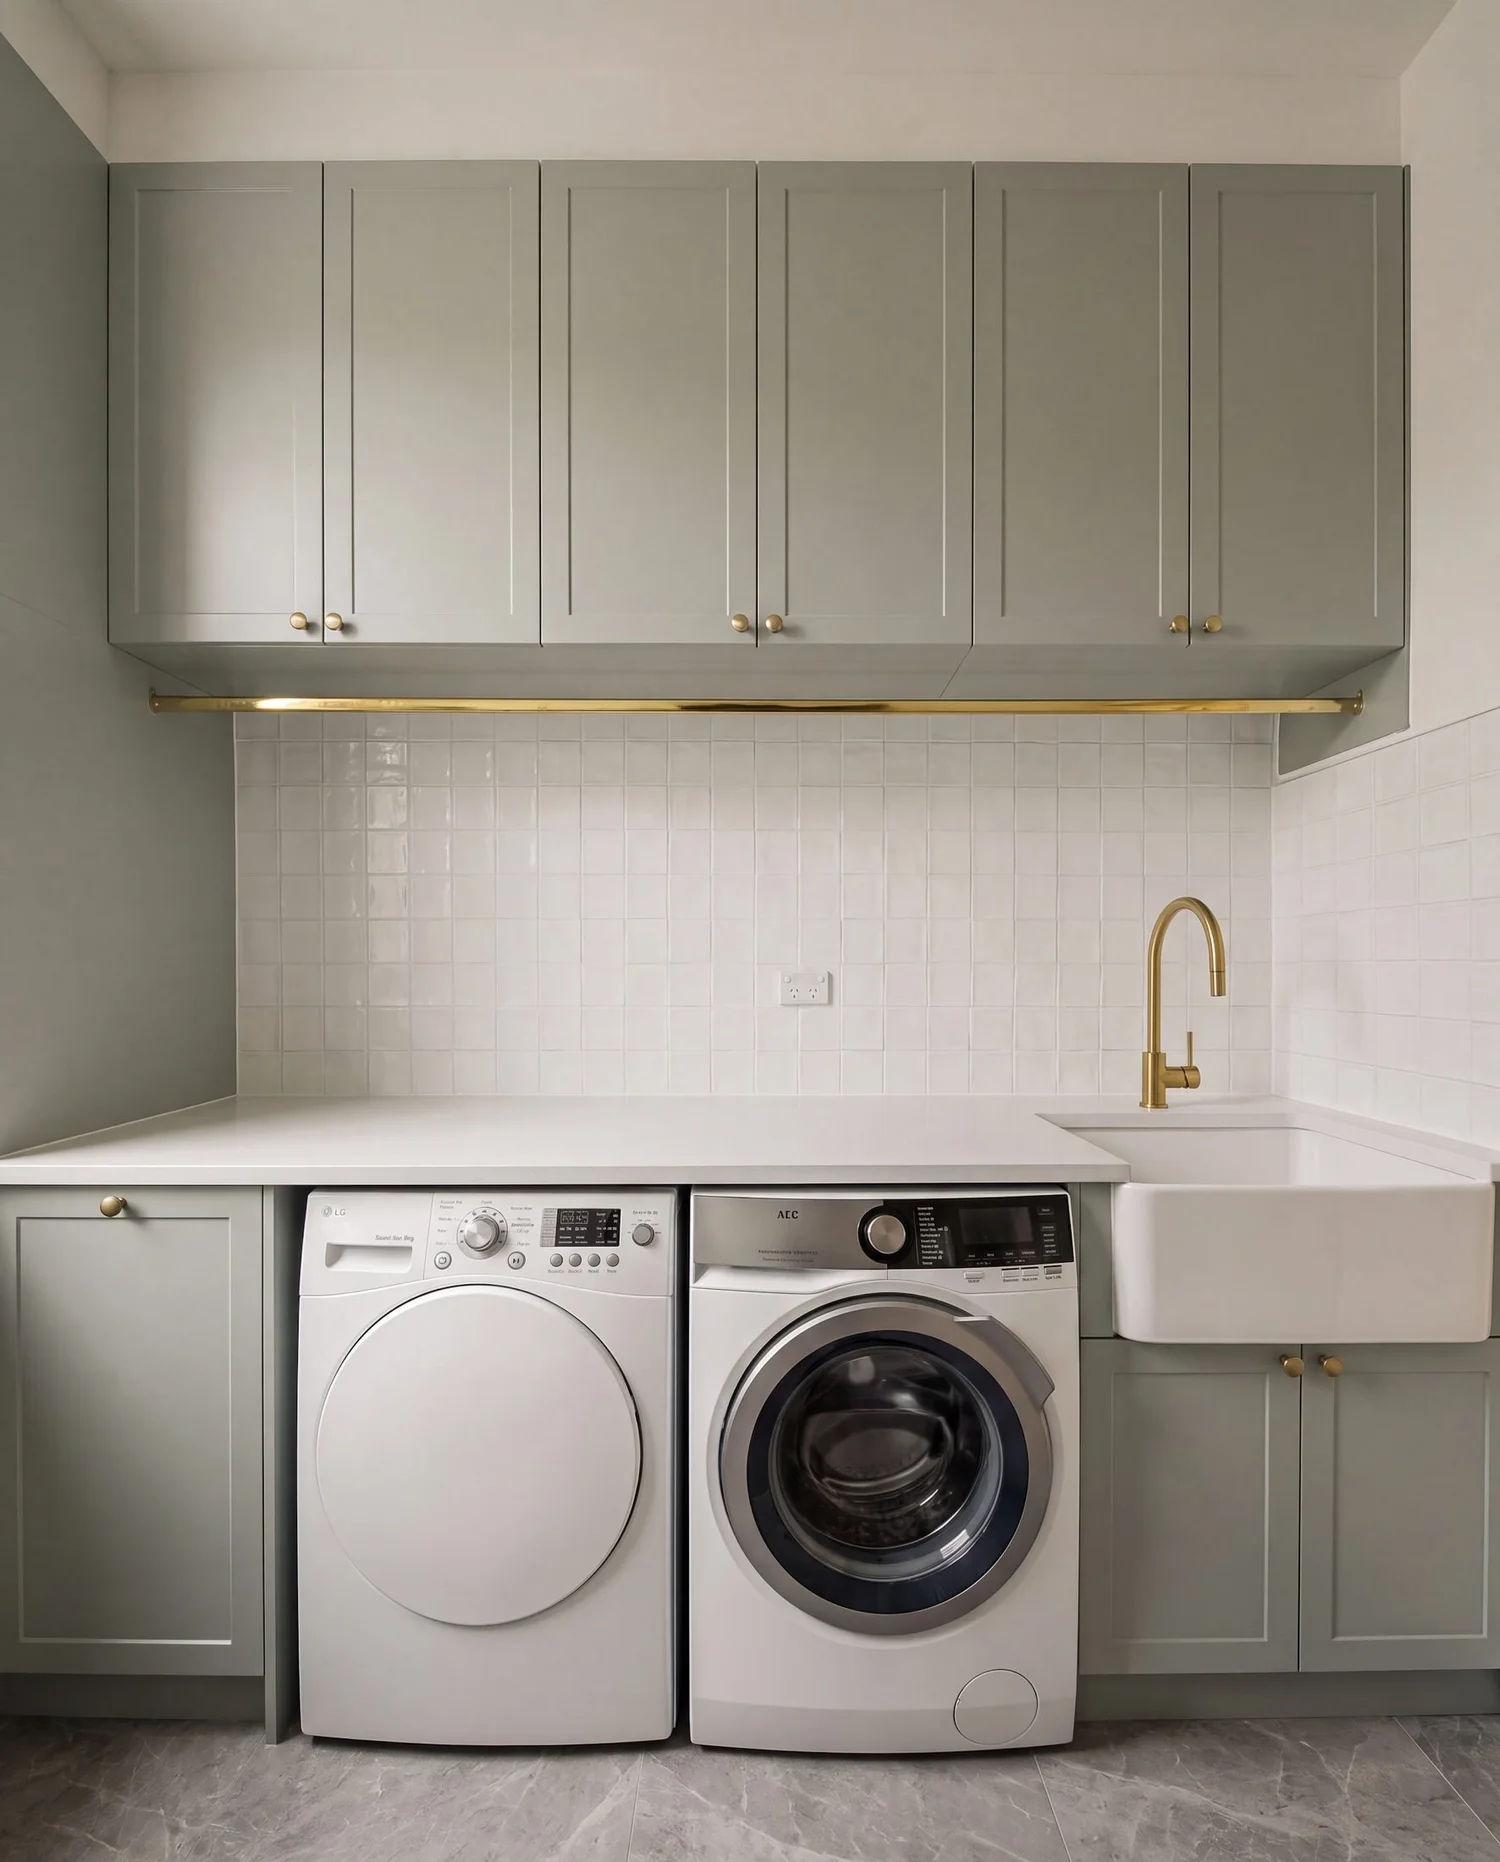
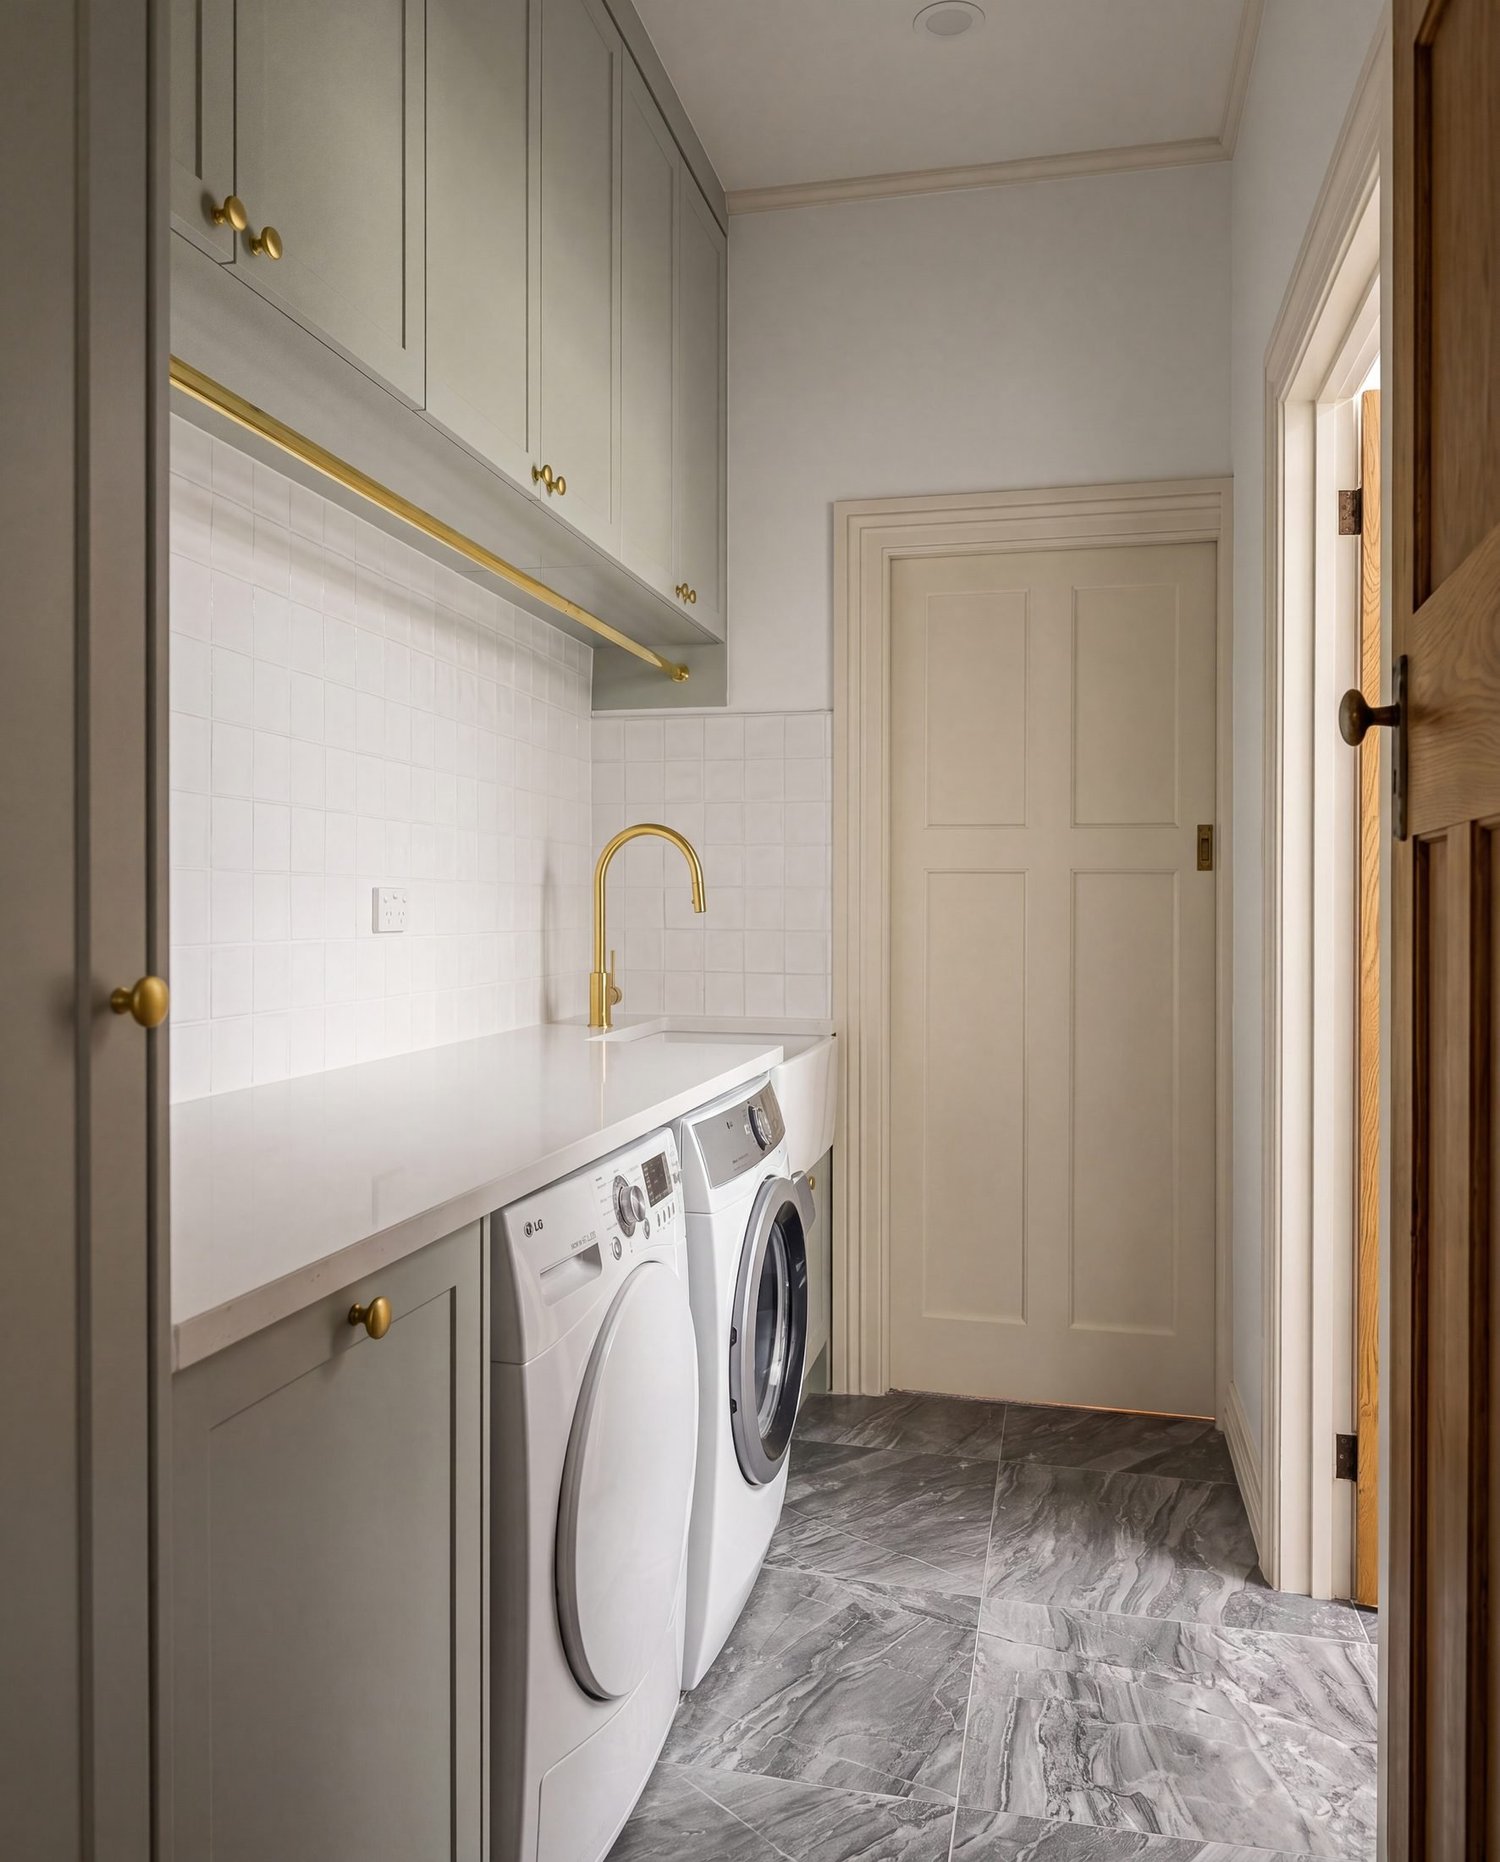
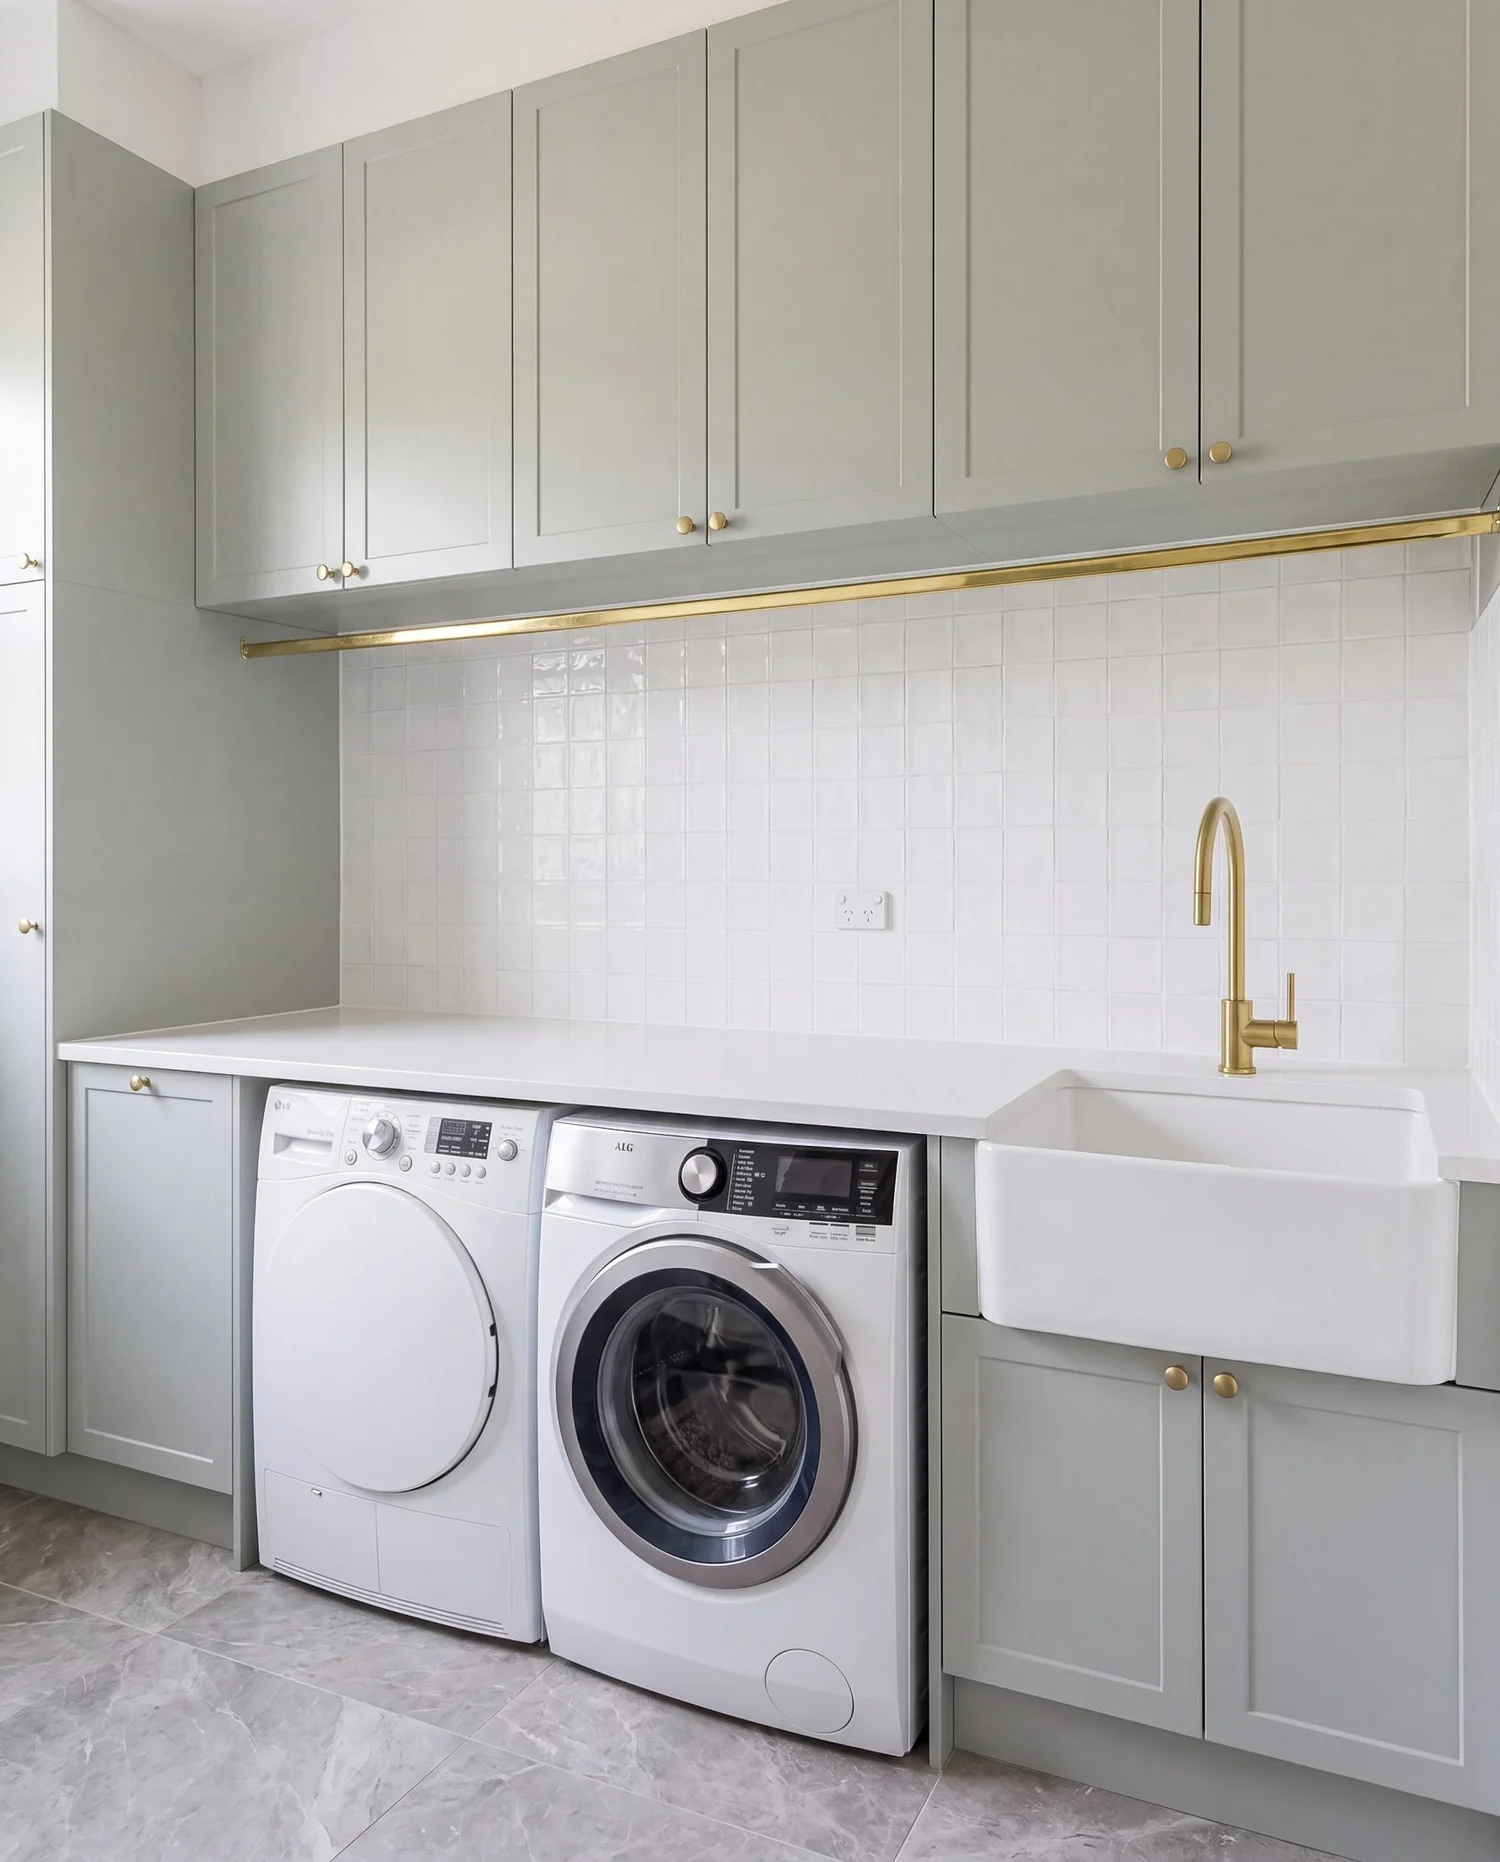
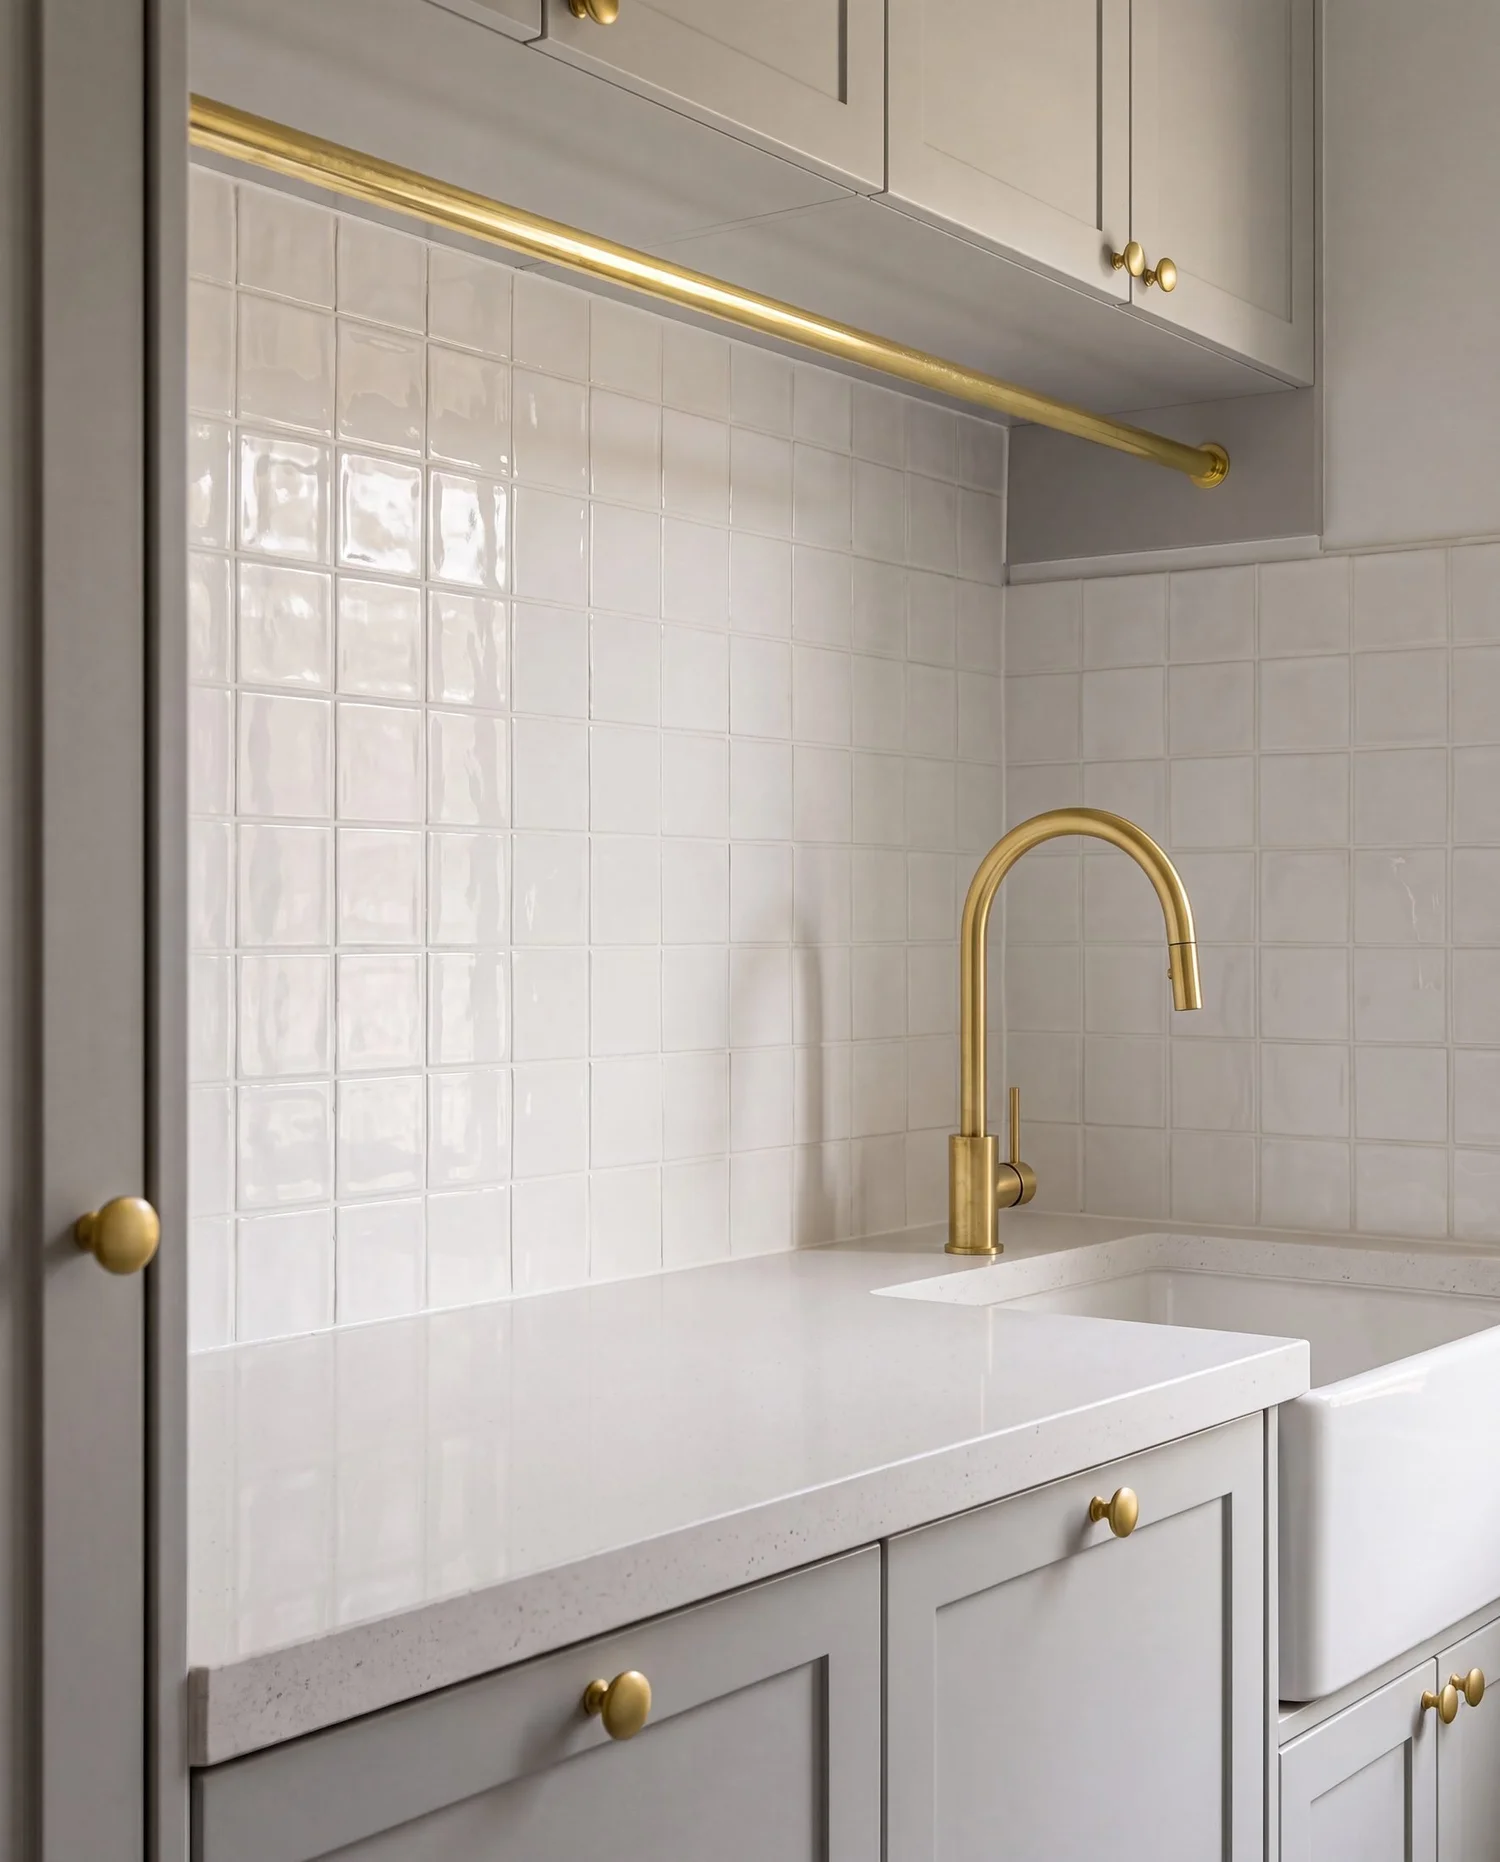
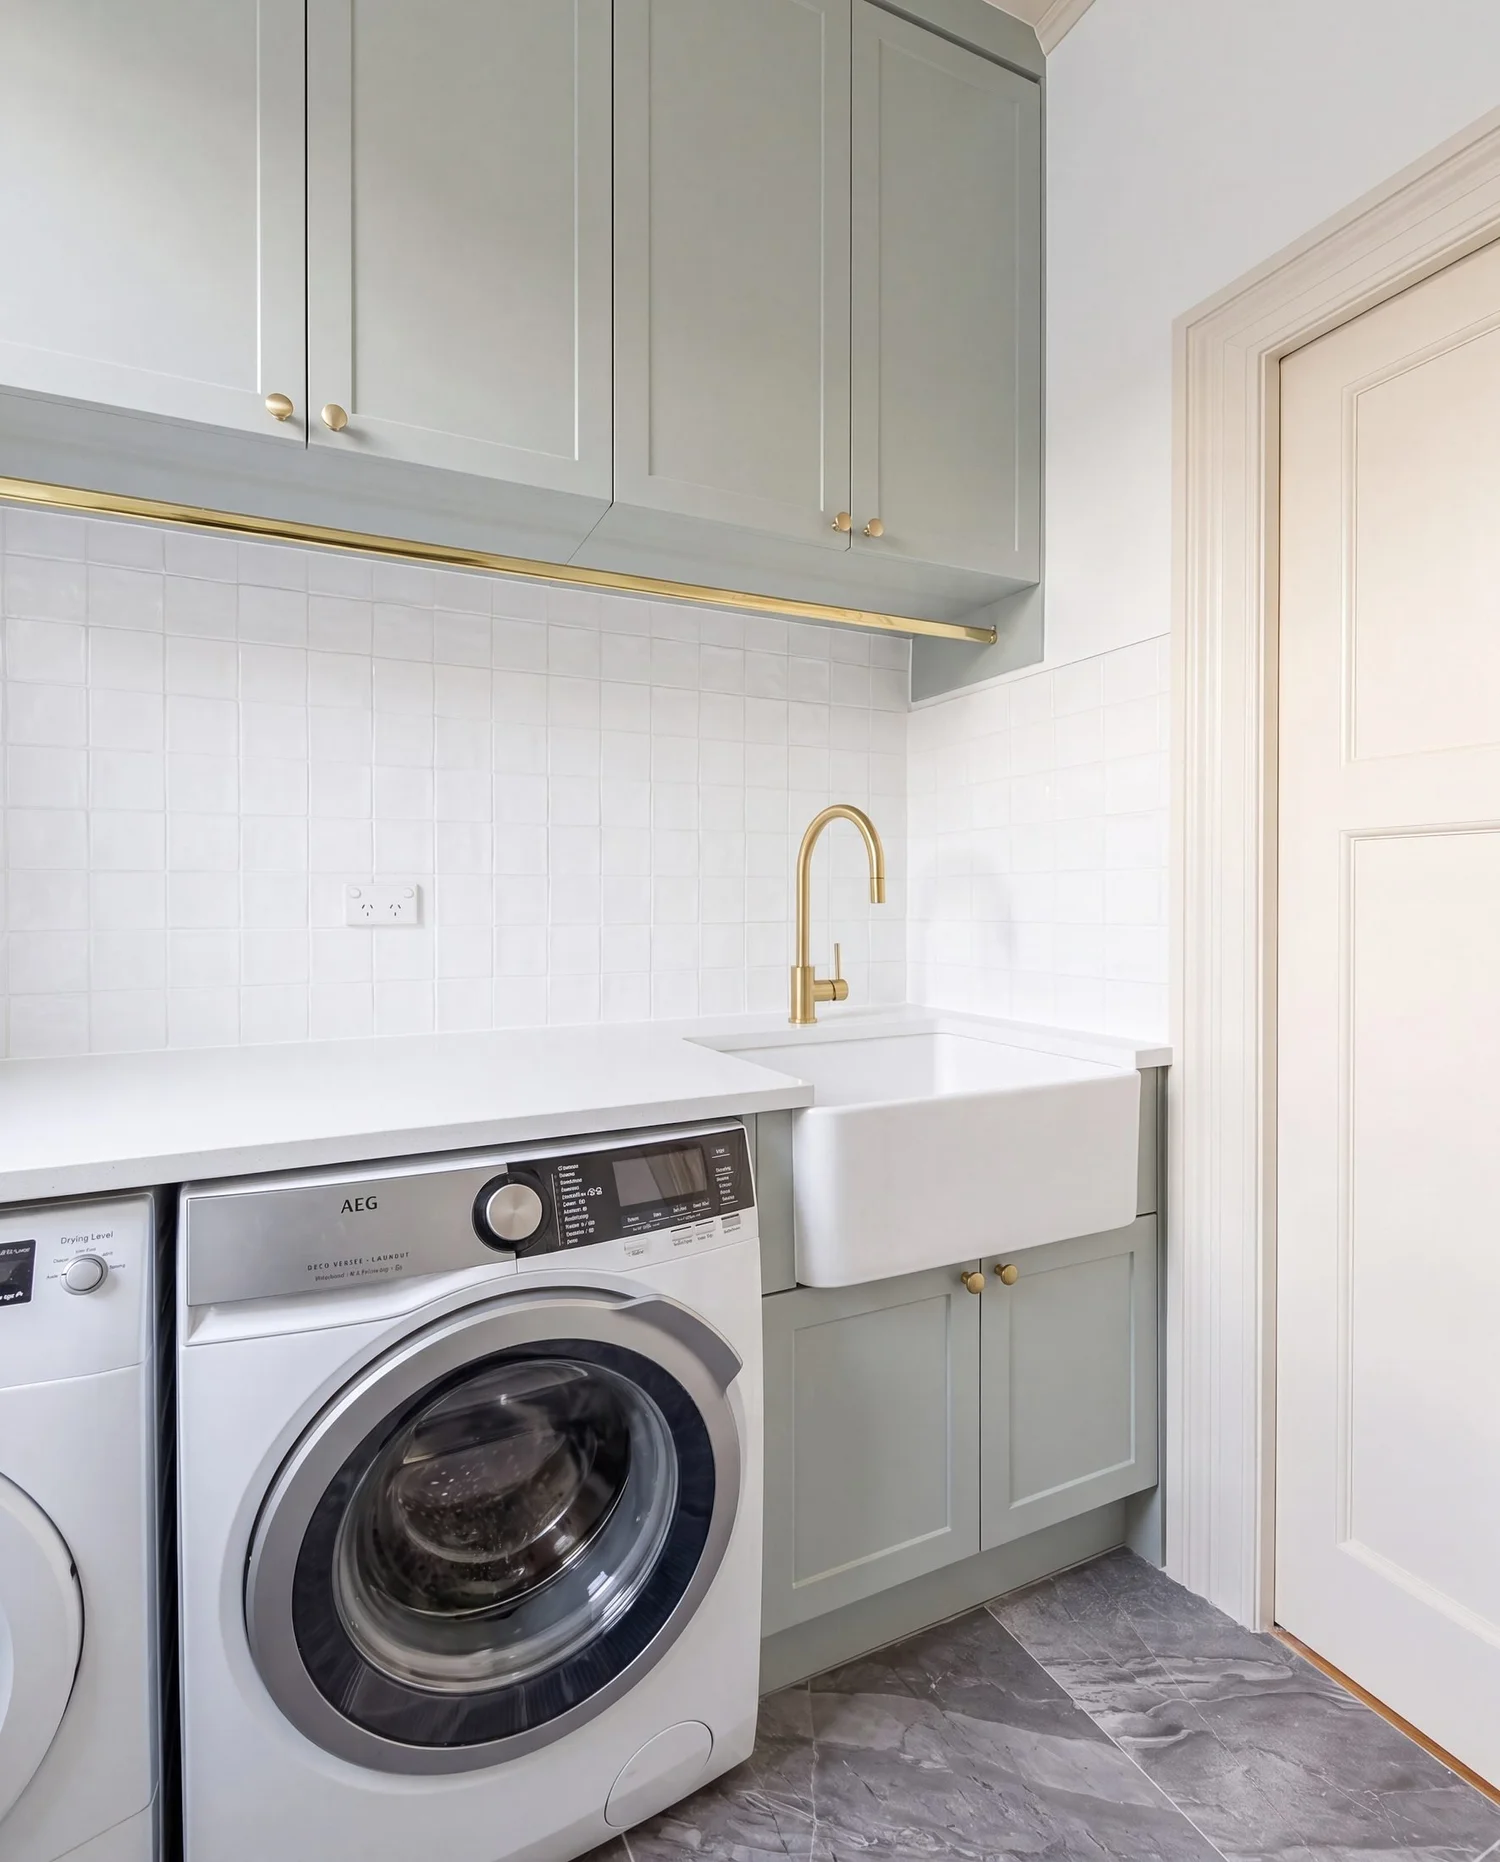
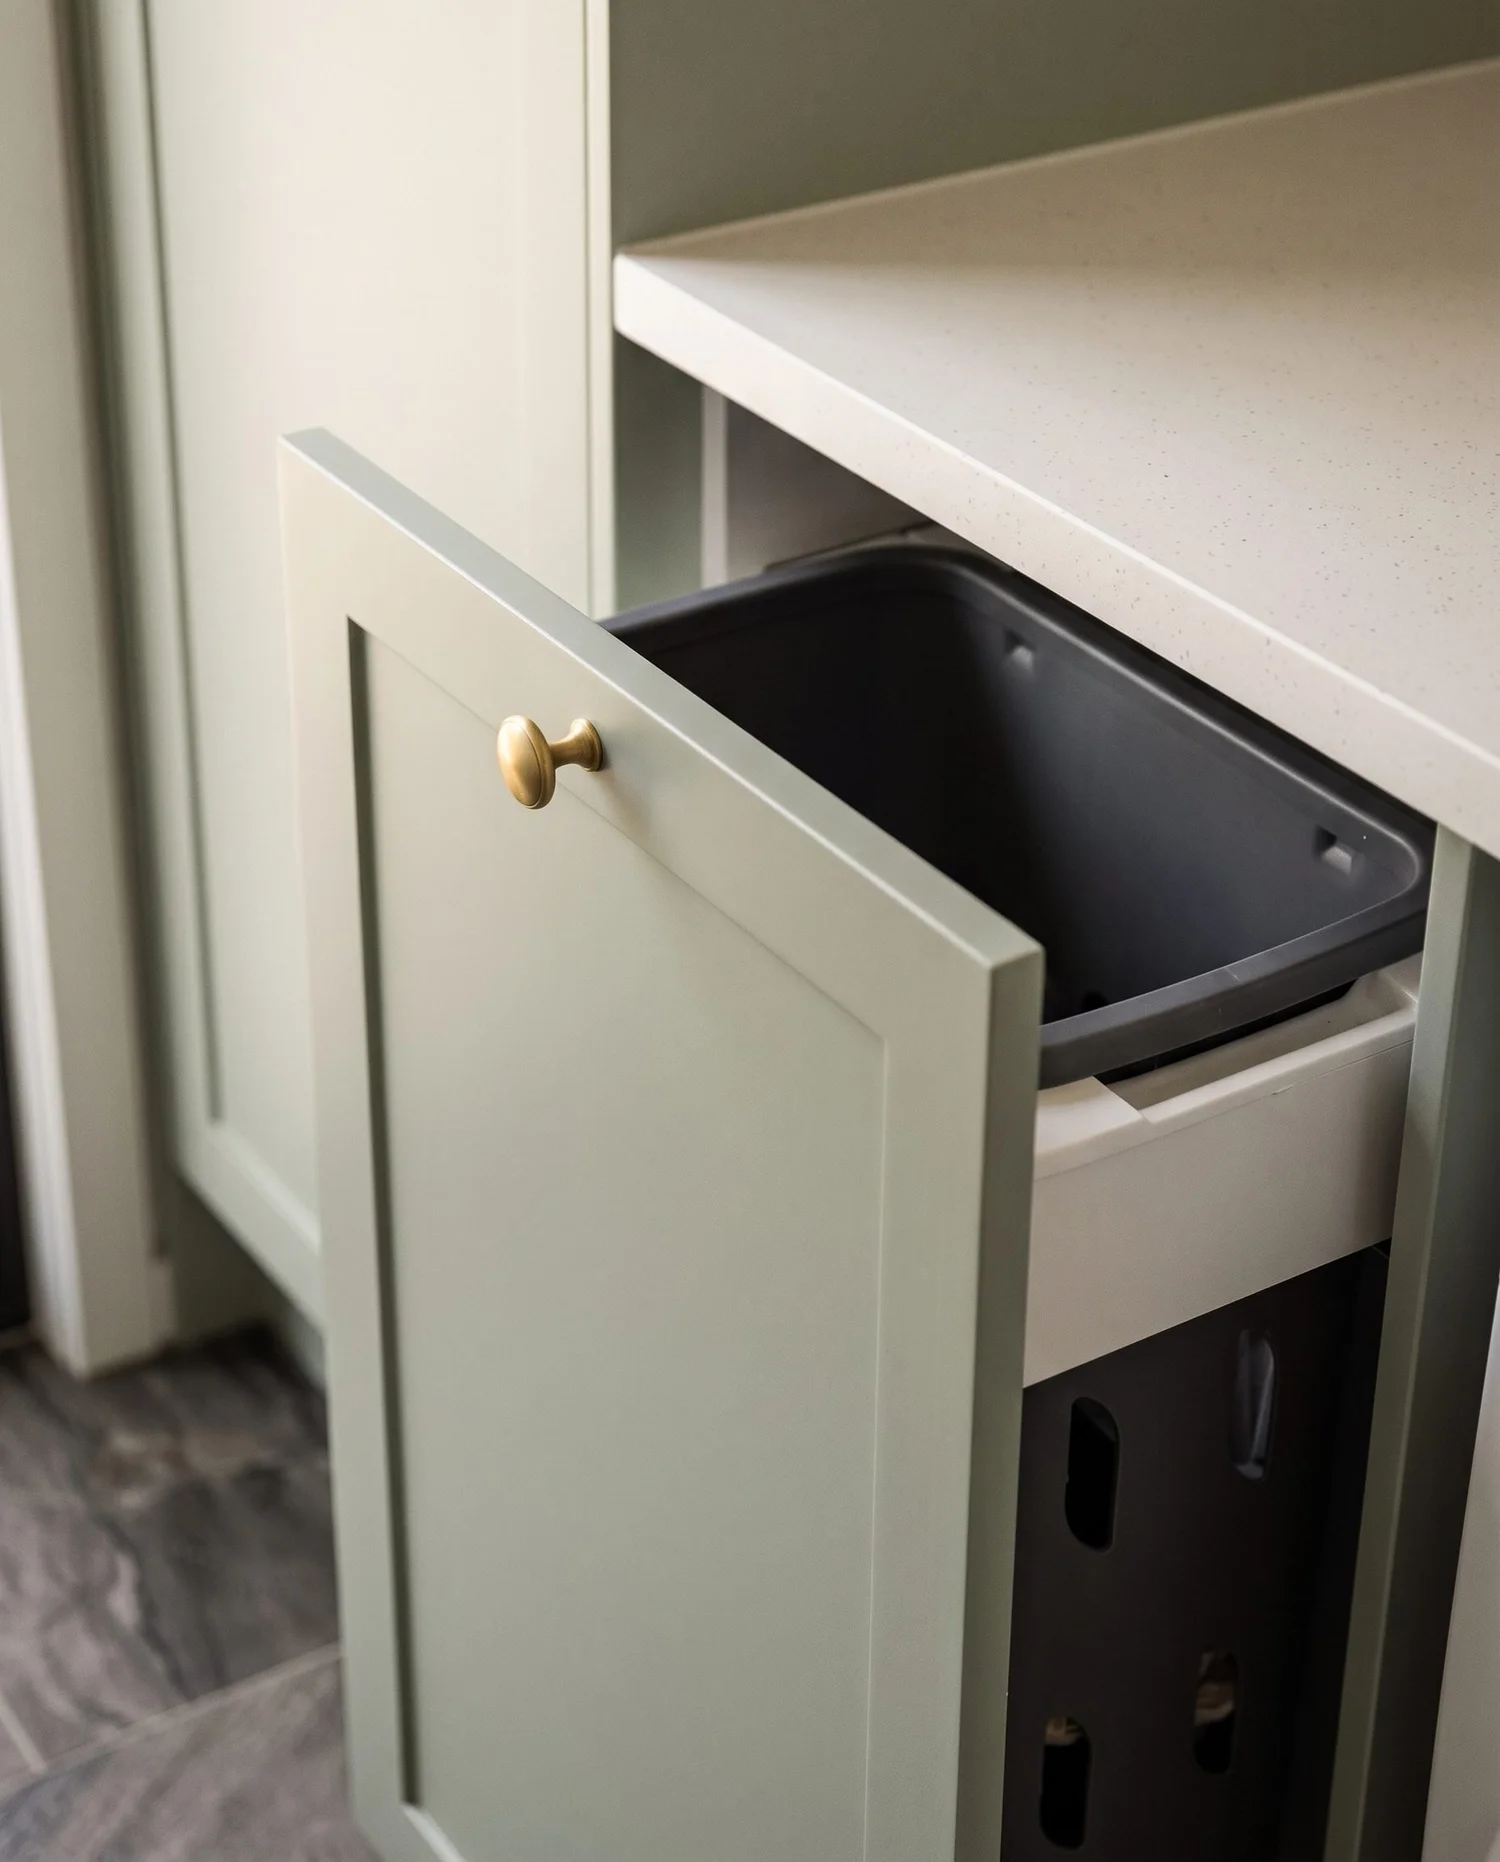
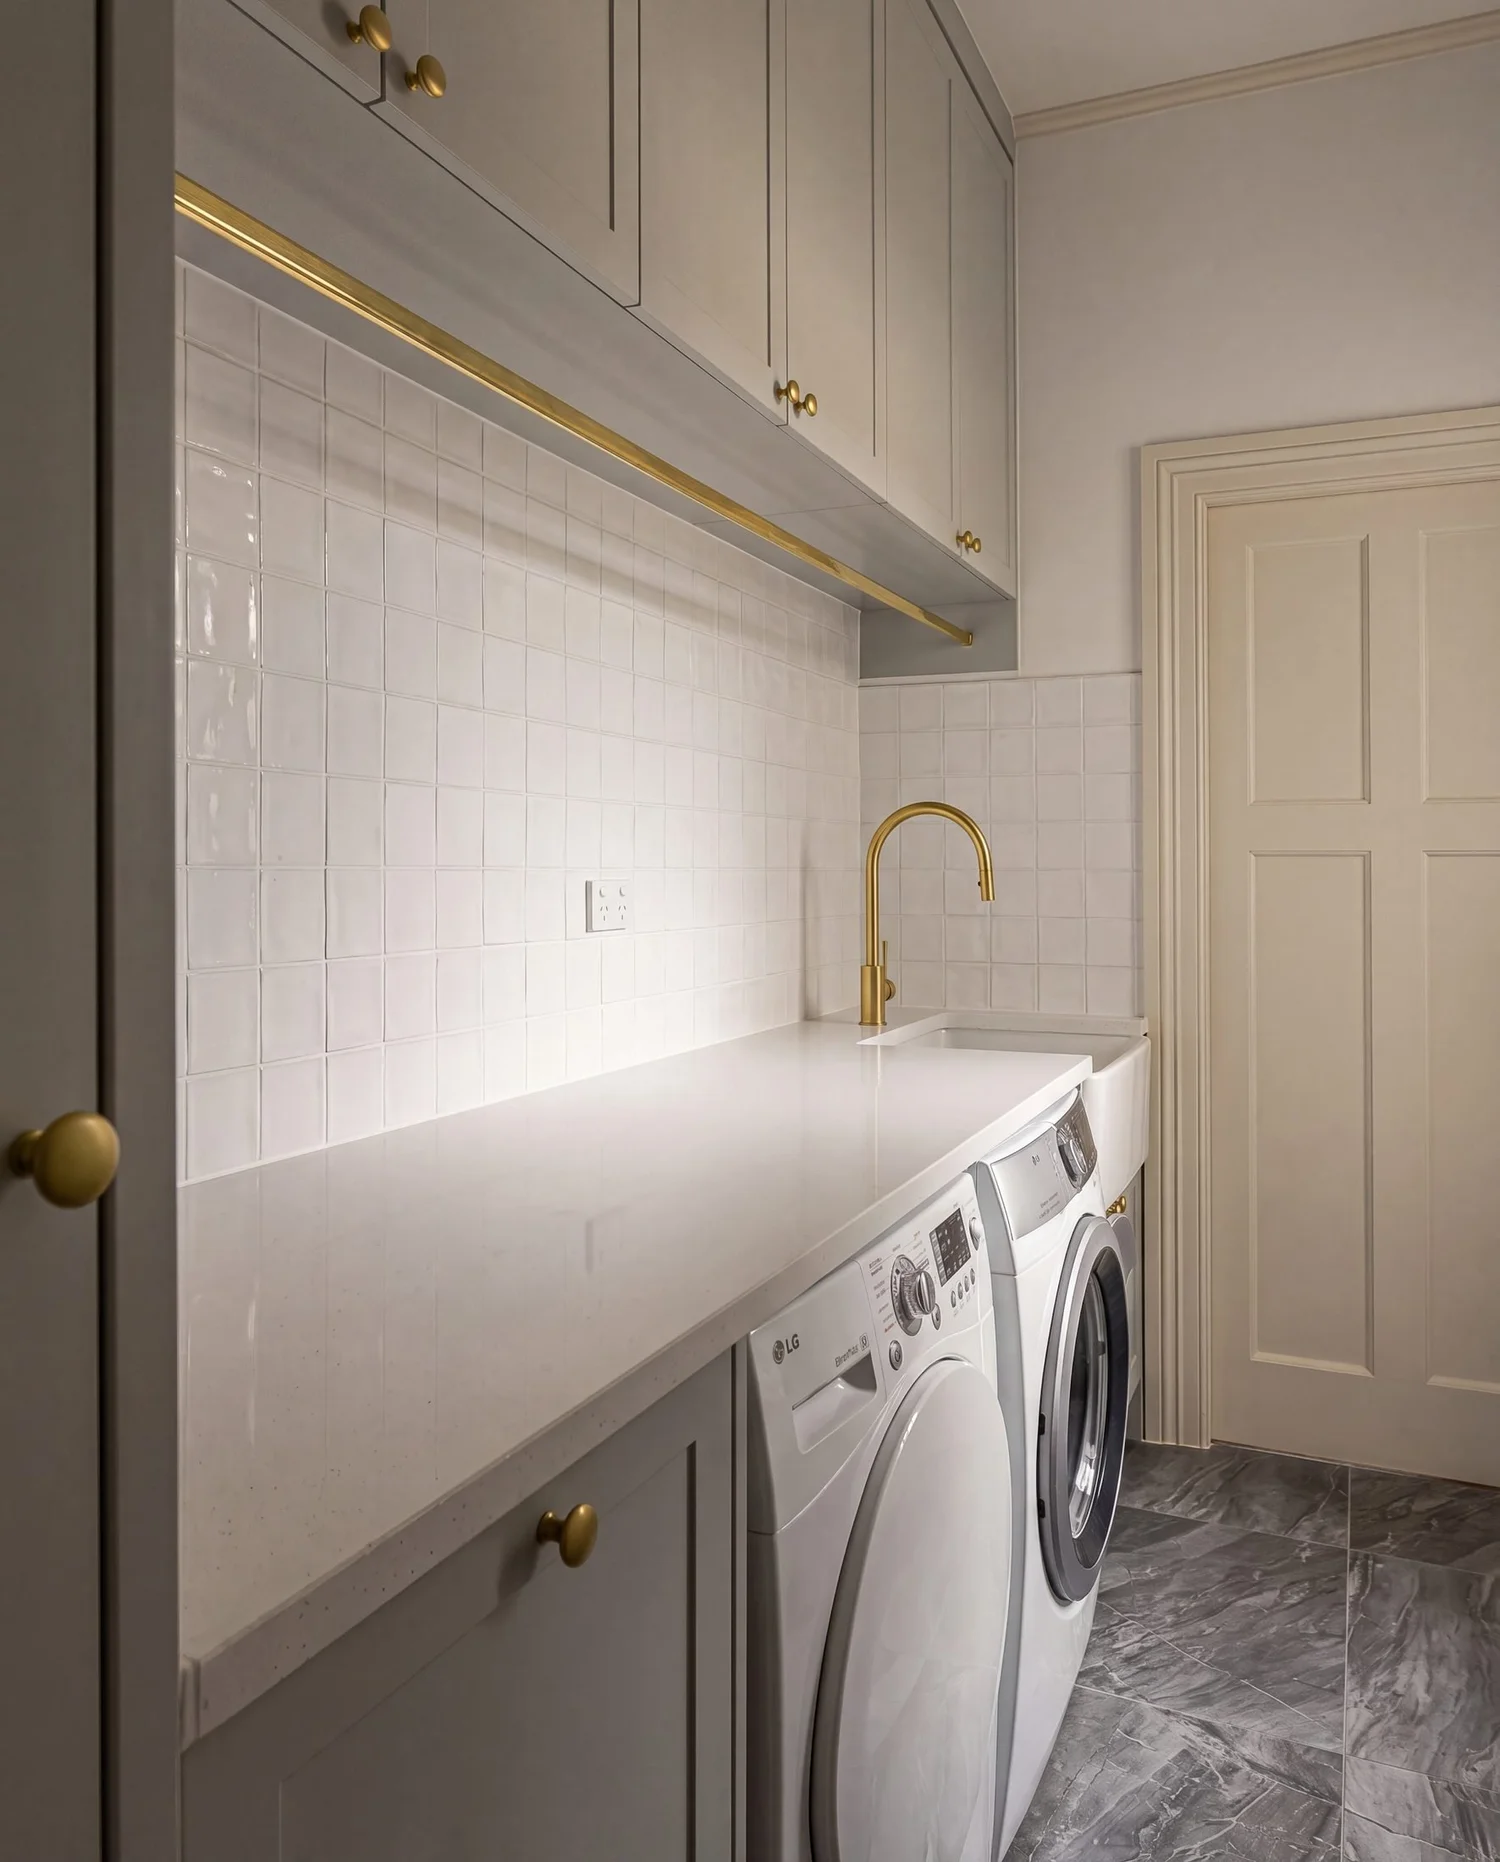
On this wall we set out floor-to-ceiling storage at the far end, a full-length bench over the appliances, a butler sink at the working end, and a brass rail running the whole length underneath the uppers for hanging. Bin and hamper pull-outs went into the joinery instead of sitting on the floor.
The strip-out
Back to the studs
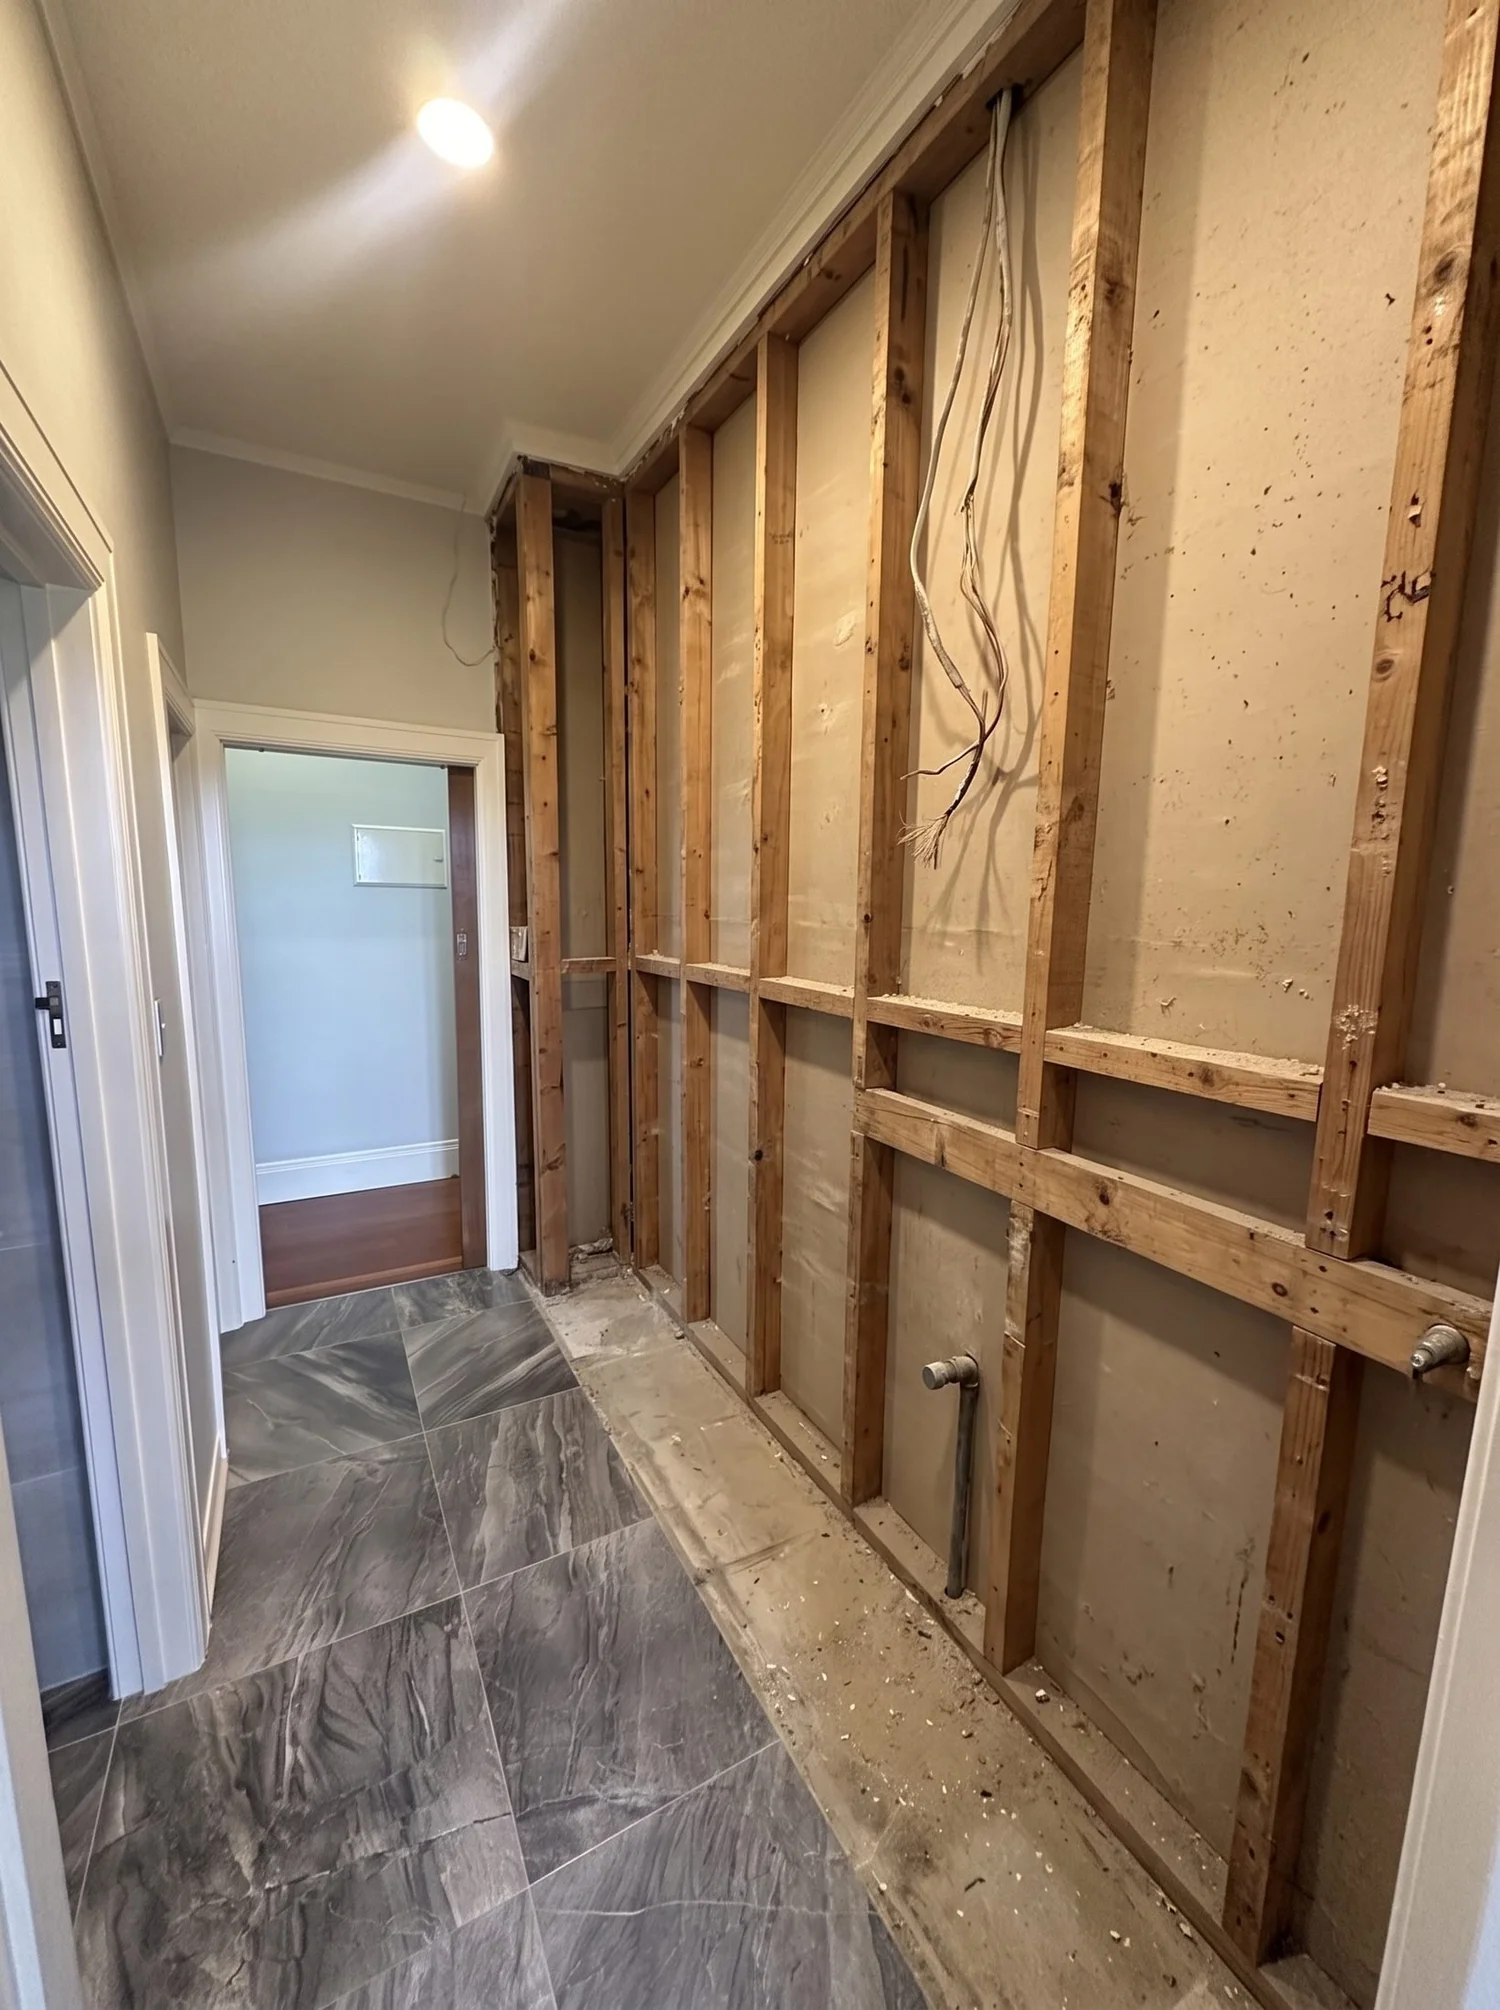
This is the honest part of a renovation and it's the part nobody photographs. Once a room is open you can see what you're actually dealing with, and you can move a waste or a power point for the cost of an hour instead of the cost of a callback.
Look at the floor in that photo. It's the same floor that's in every finished shot on this page.
The build
How it went back together
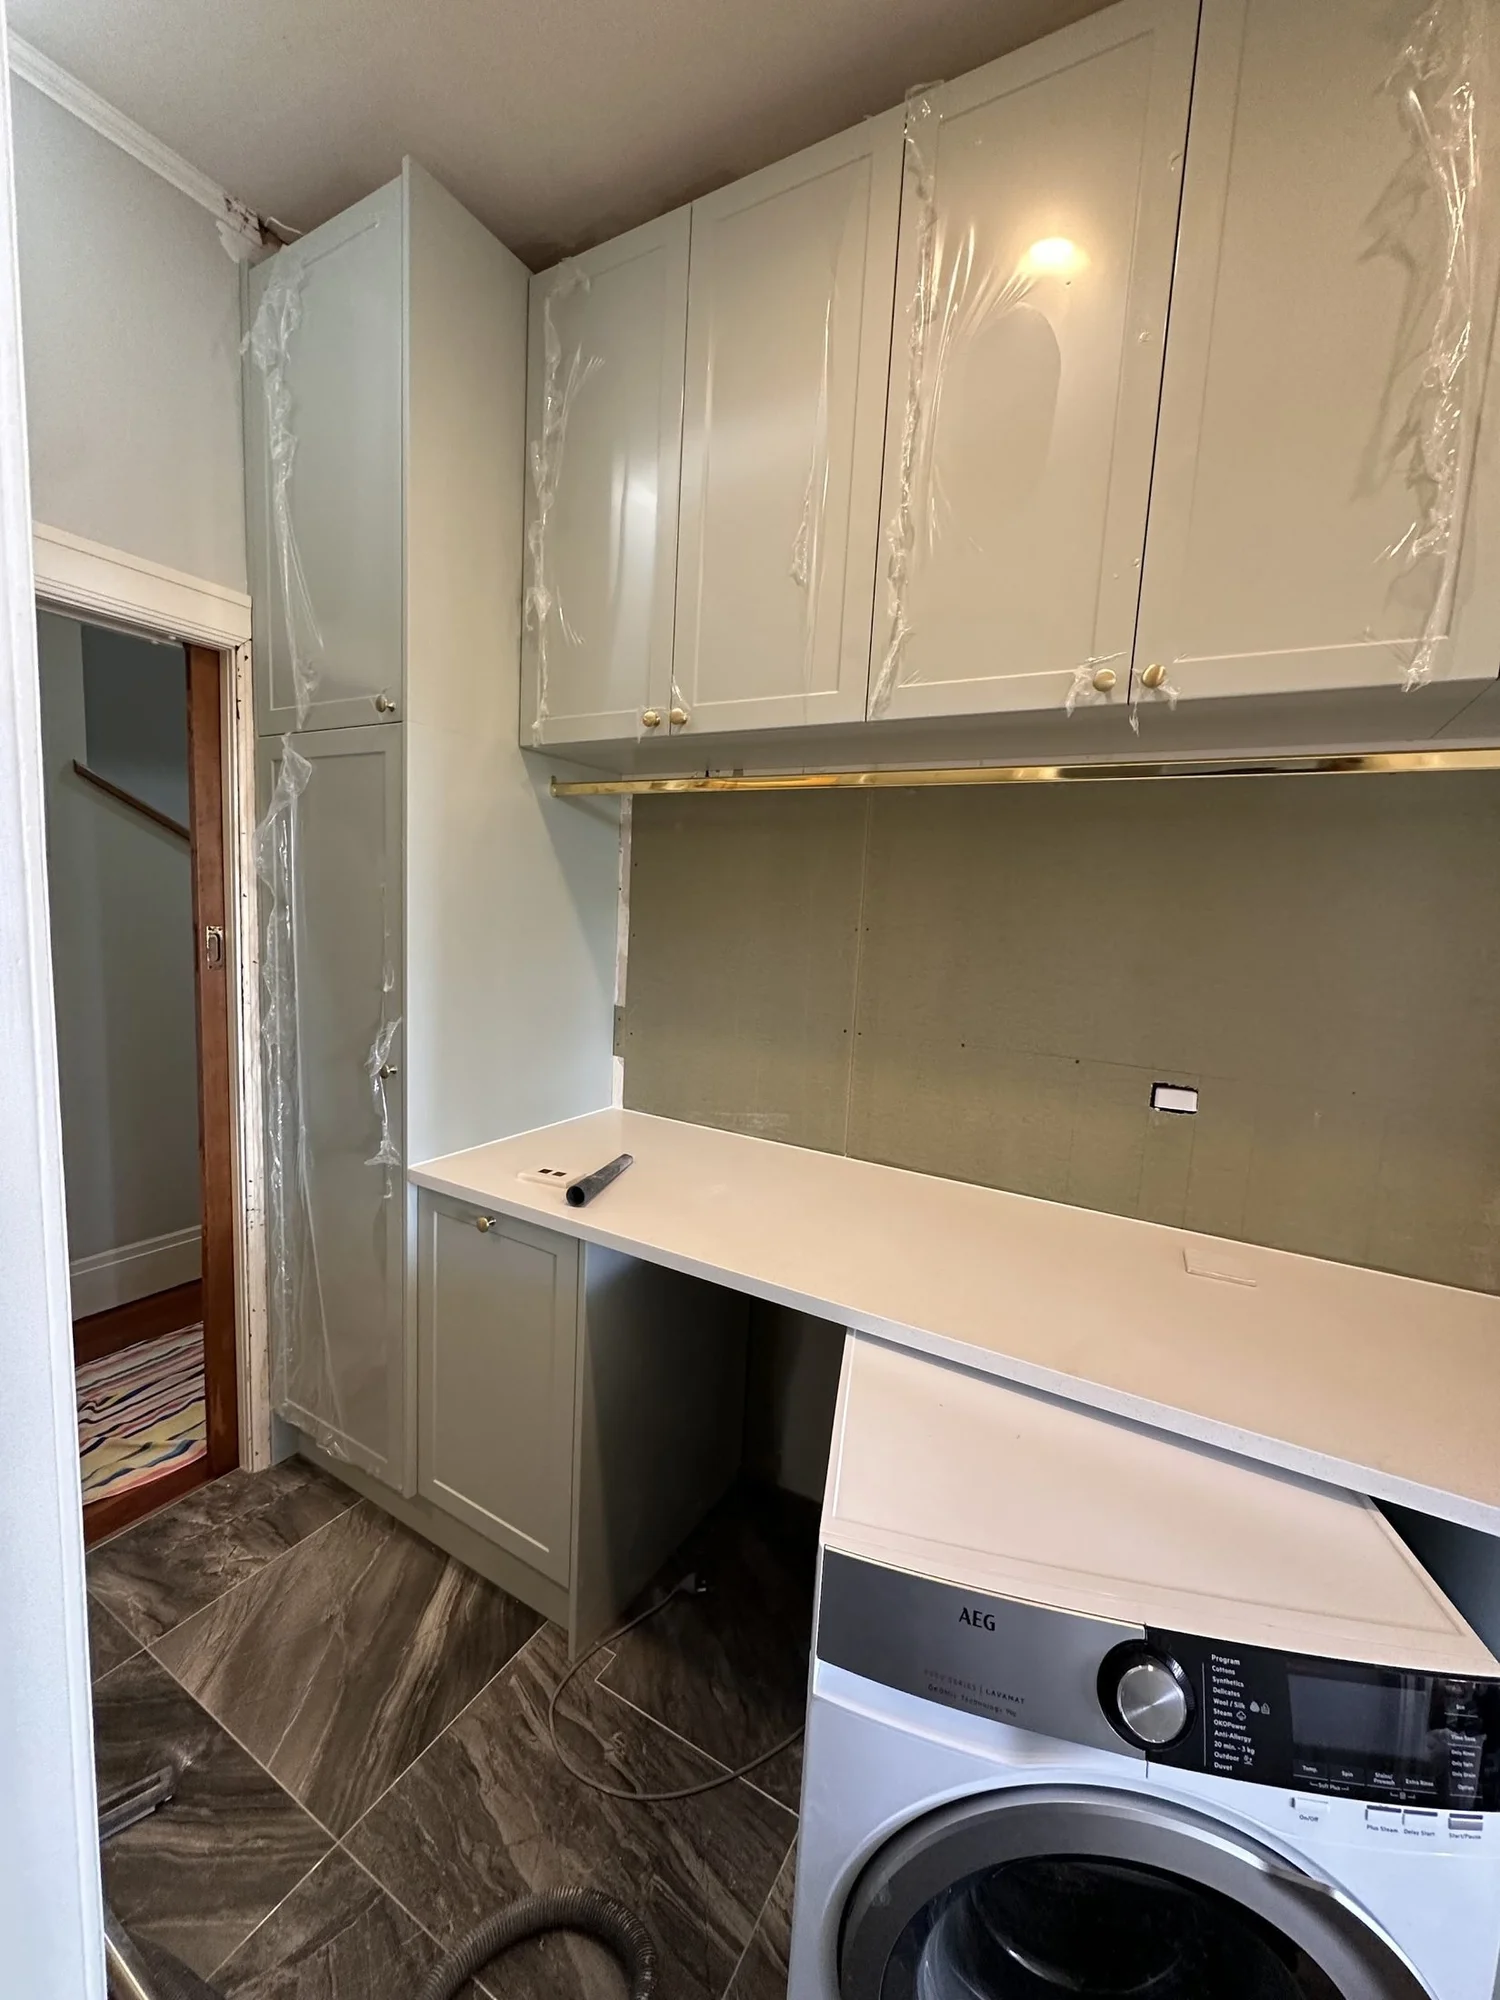
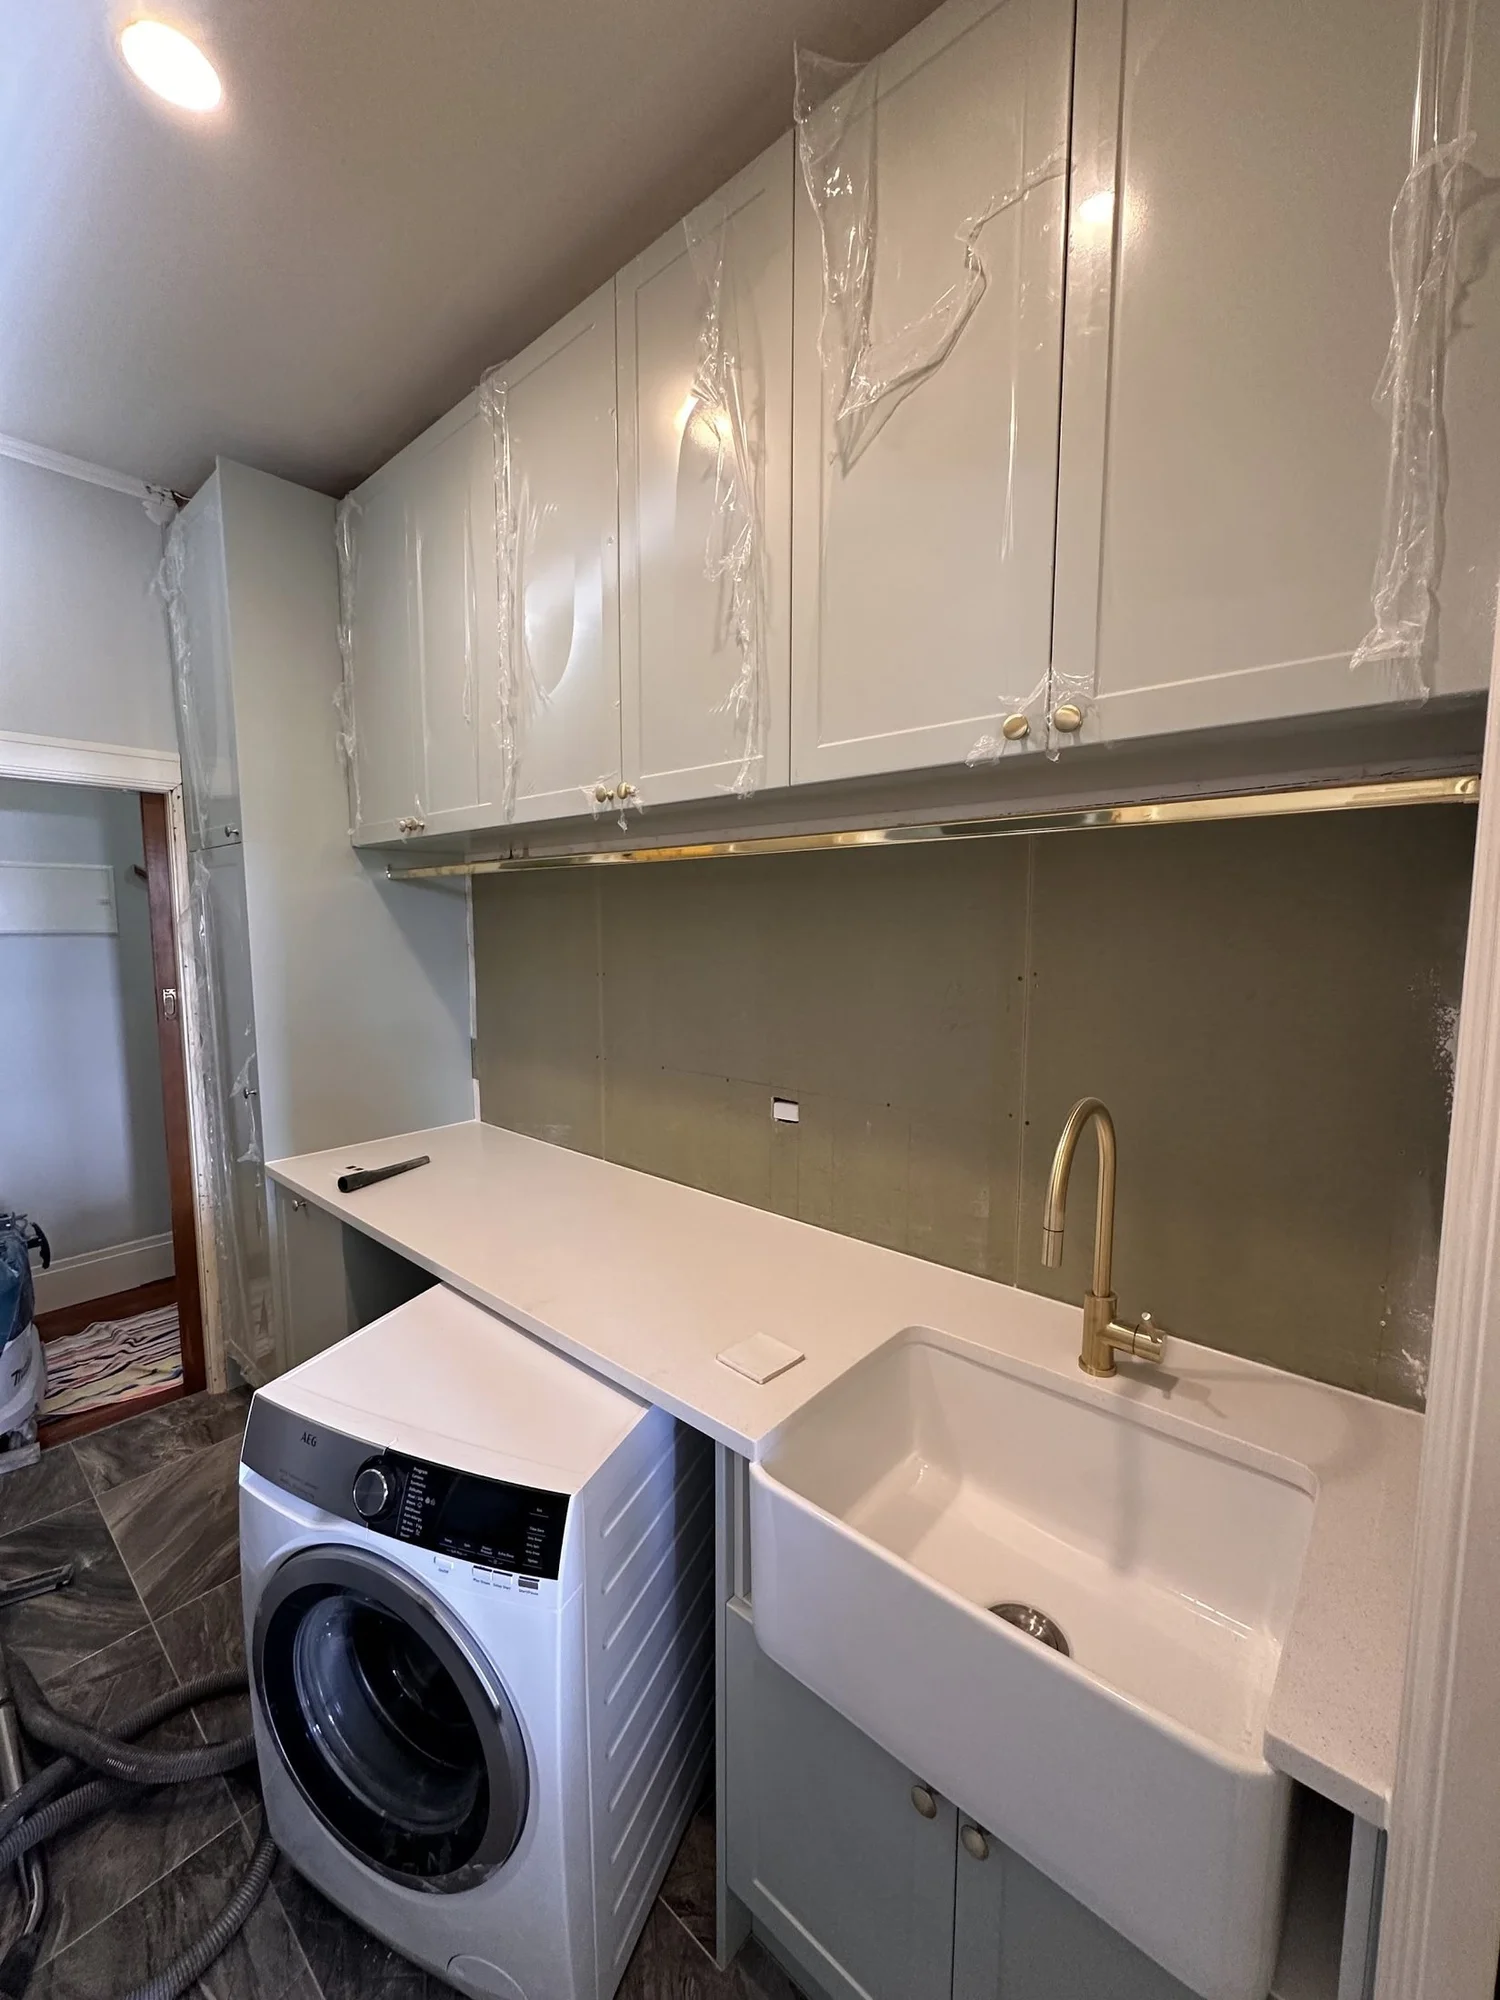
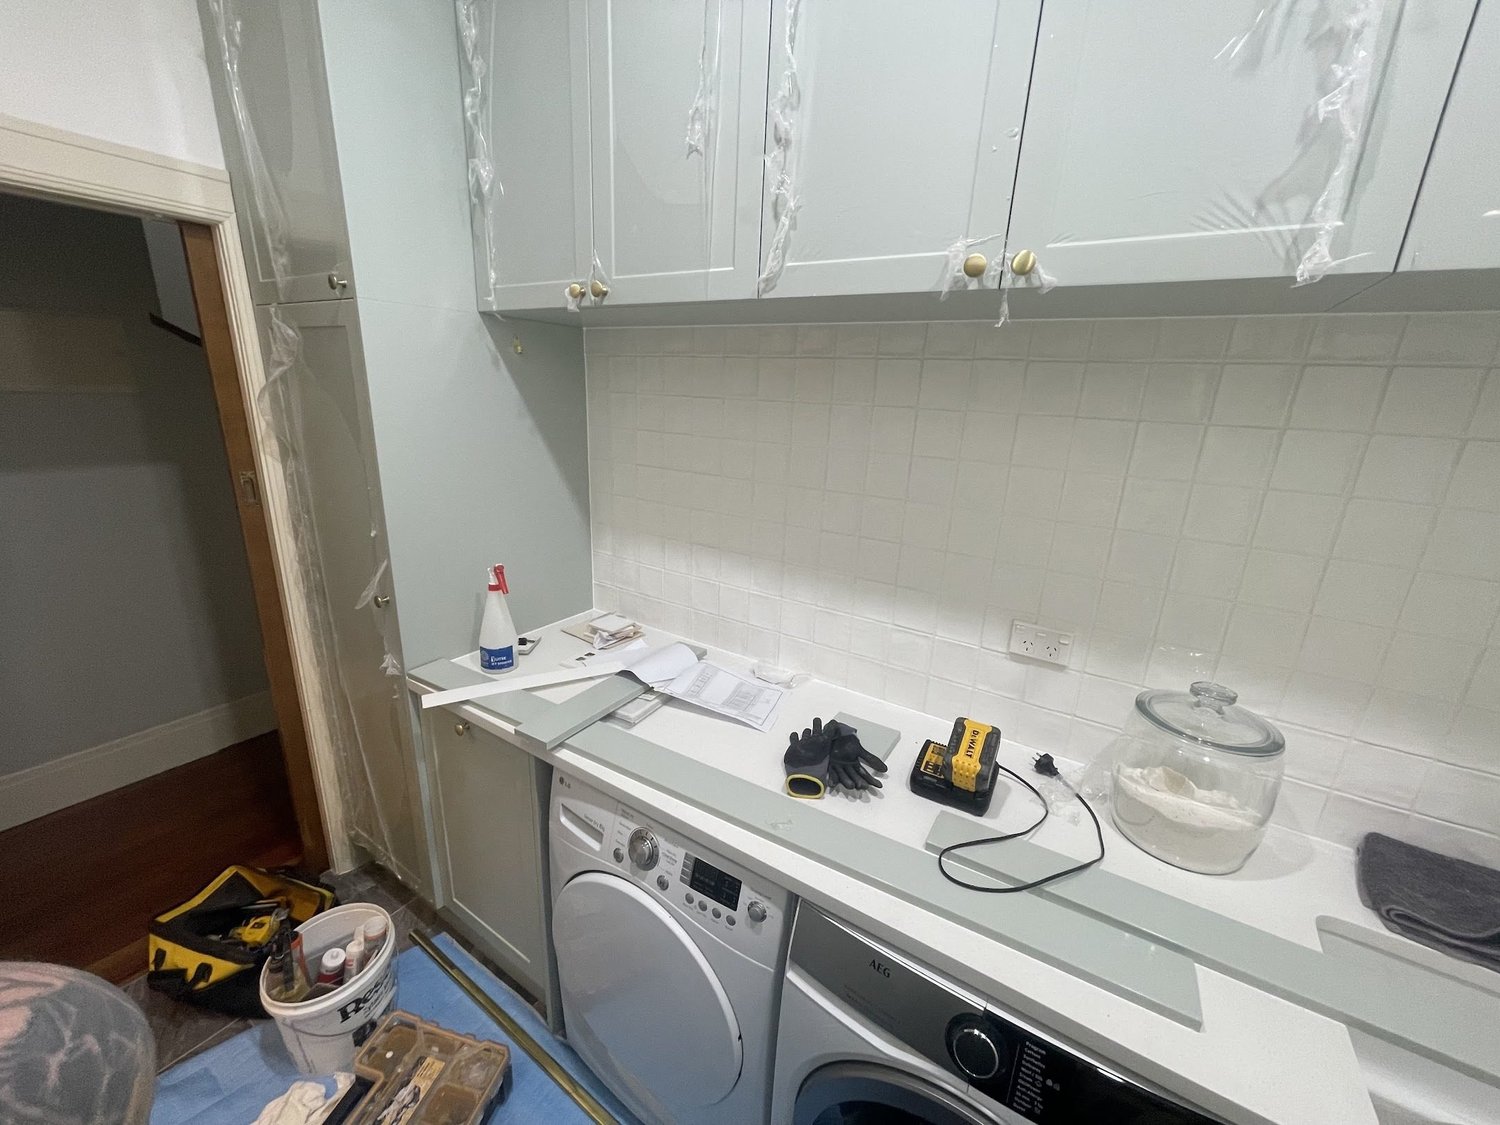
Joinery first. Dezignatek Series 3 custom shaker doors and drawer fronts in Pistachio, sprayed off site and landing still wrapped. Floor-to-ceiling cupboards at the far end, appliance bay under the bench.
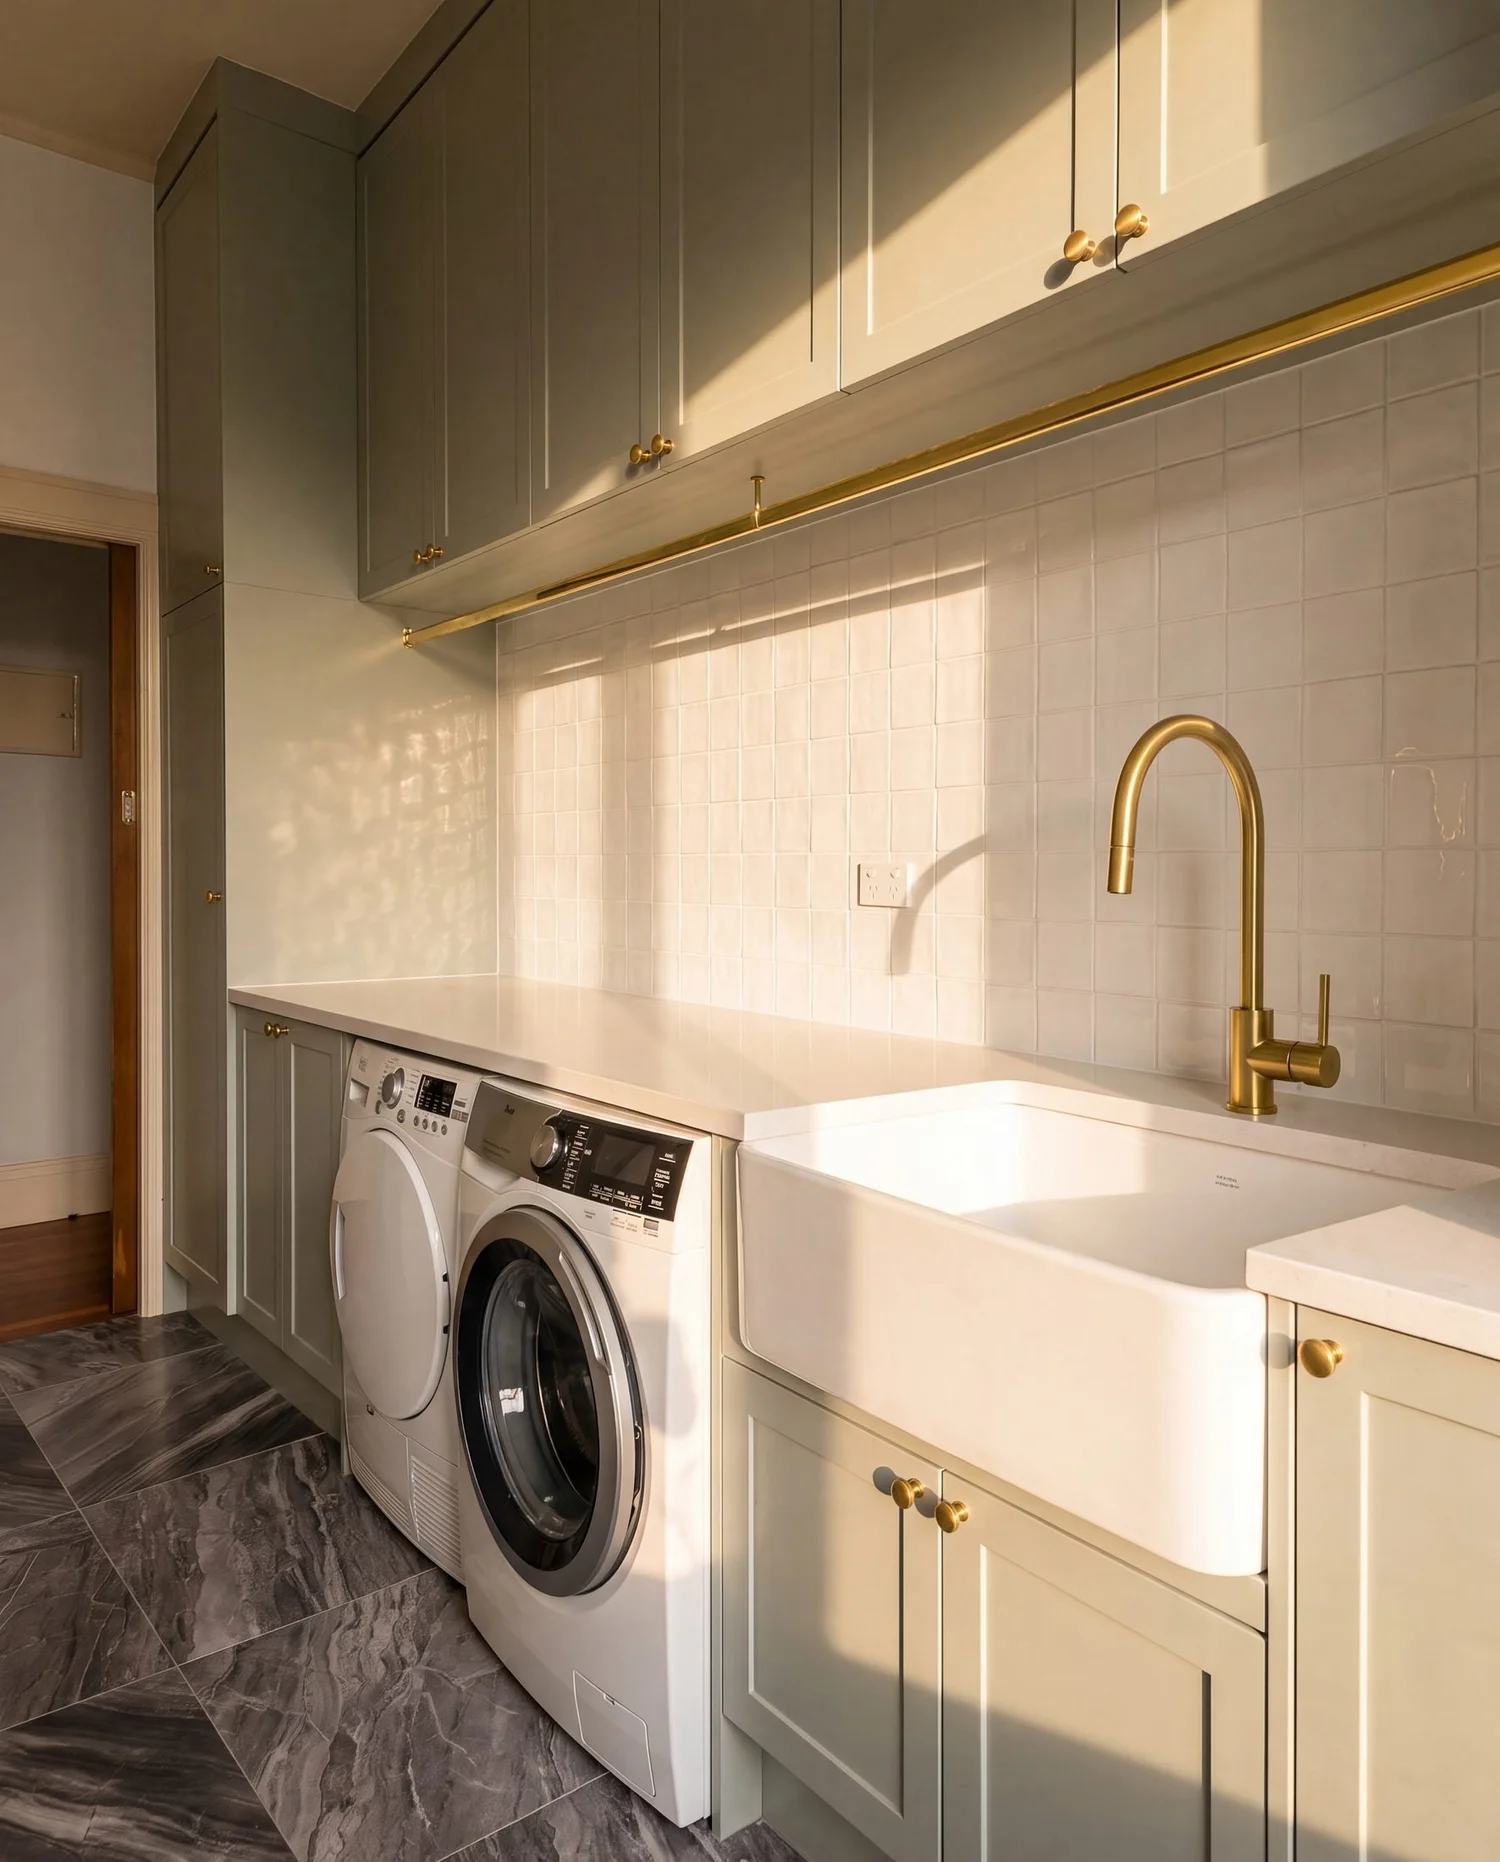
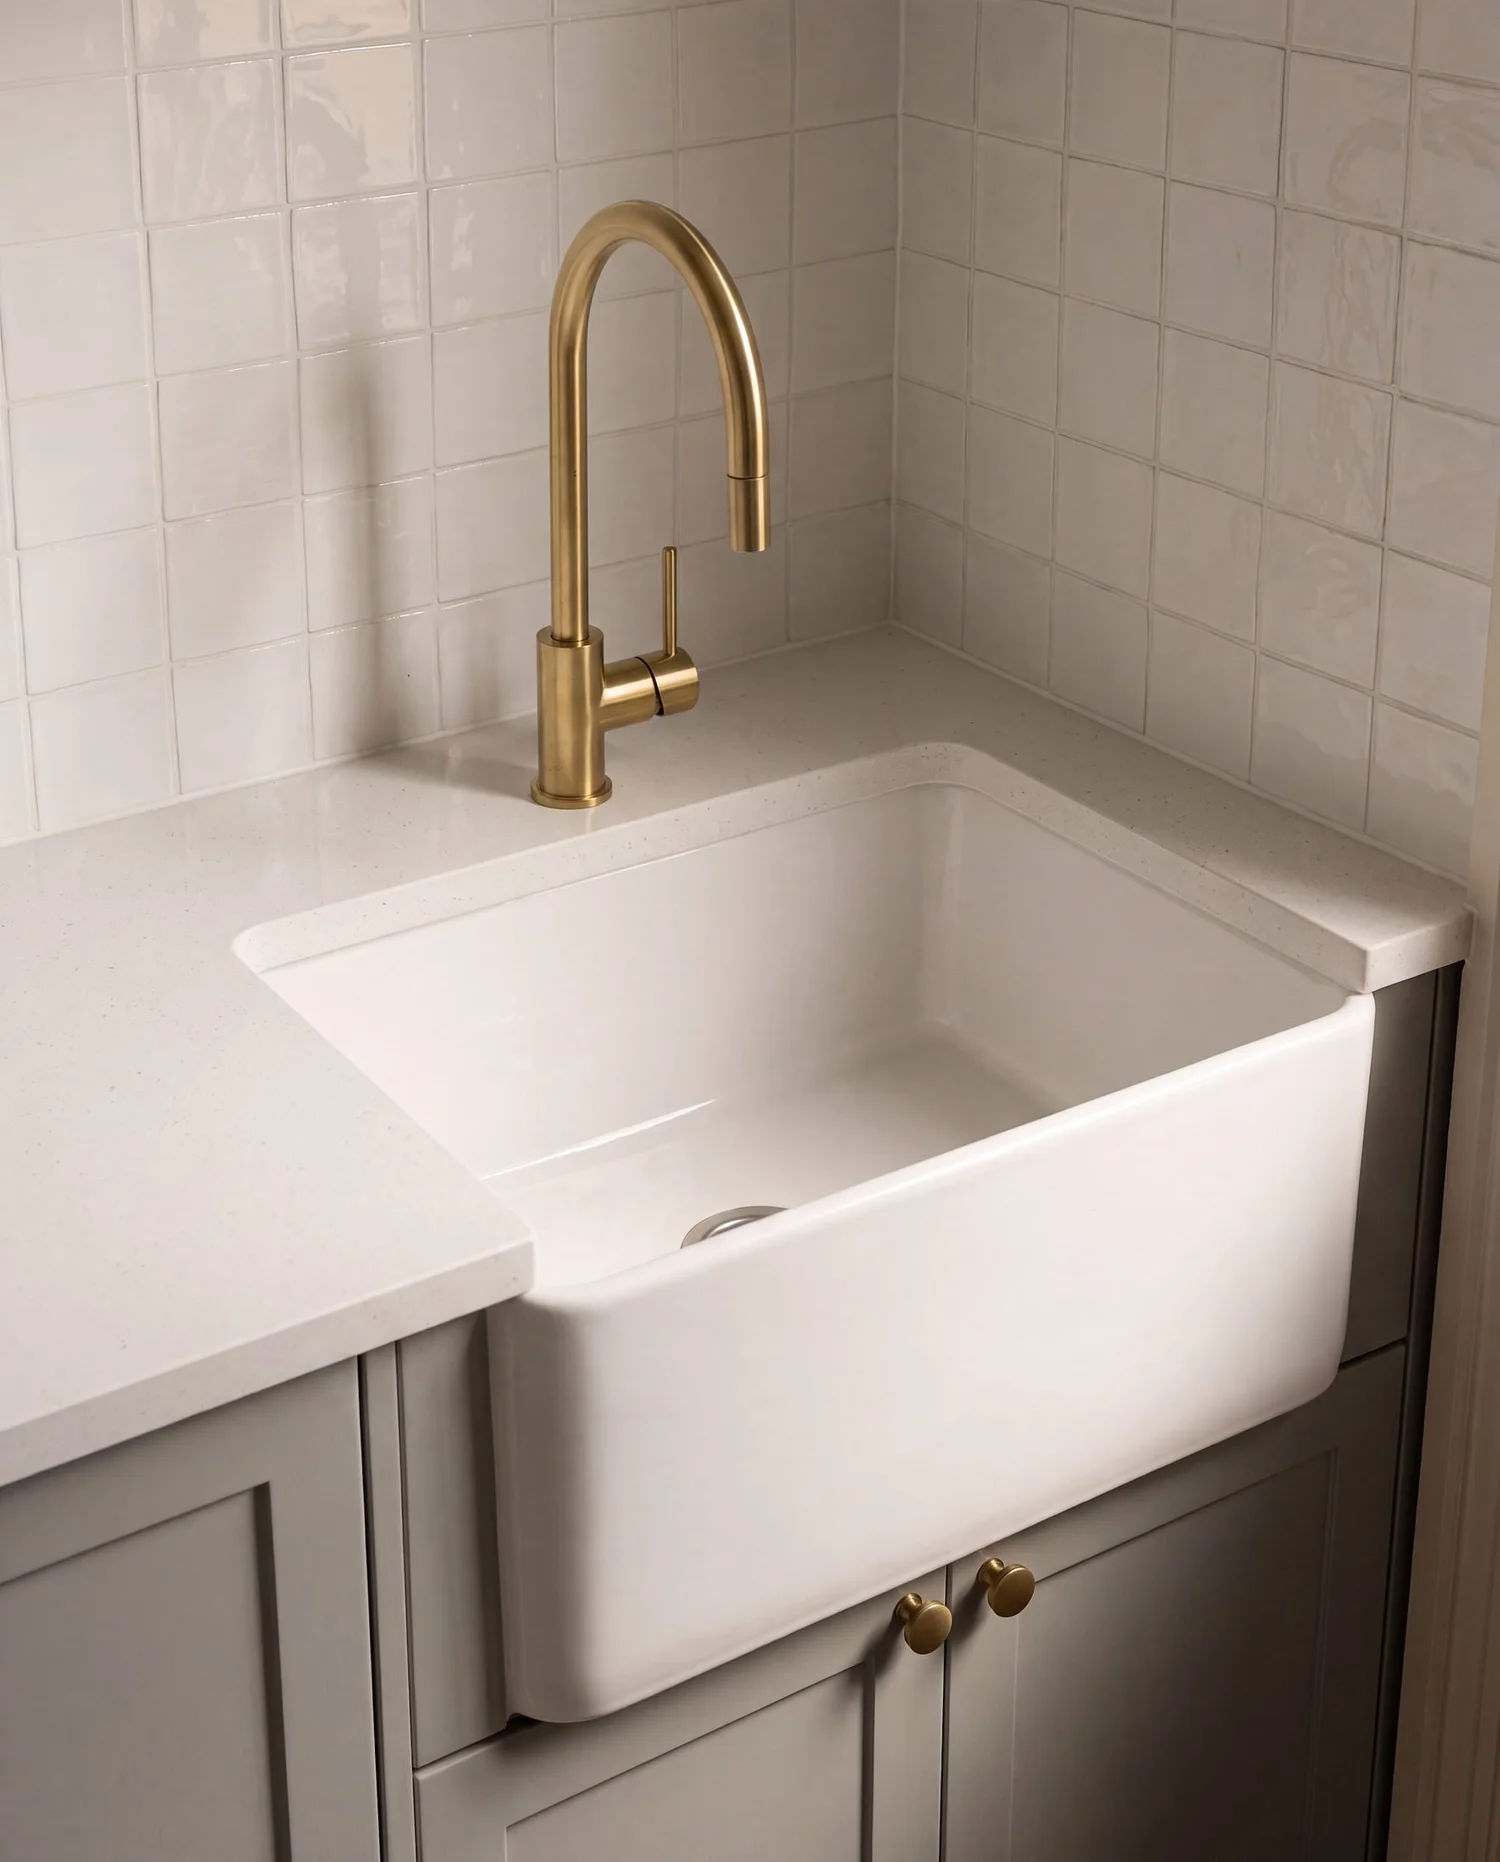
Then the benchtop and the sink. A single run of speckled white engineered stone over the full length, and a white fireclay butler sink dropped in at the working end. That's the photo where a laundry stops looking like a utility room.
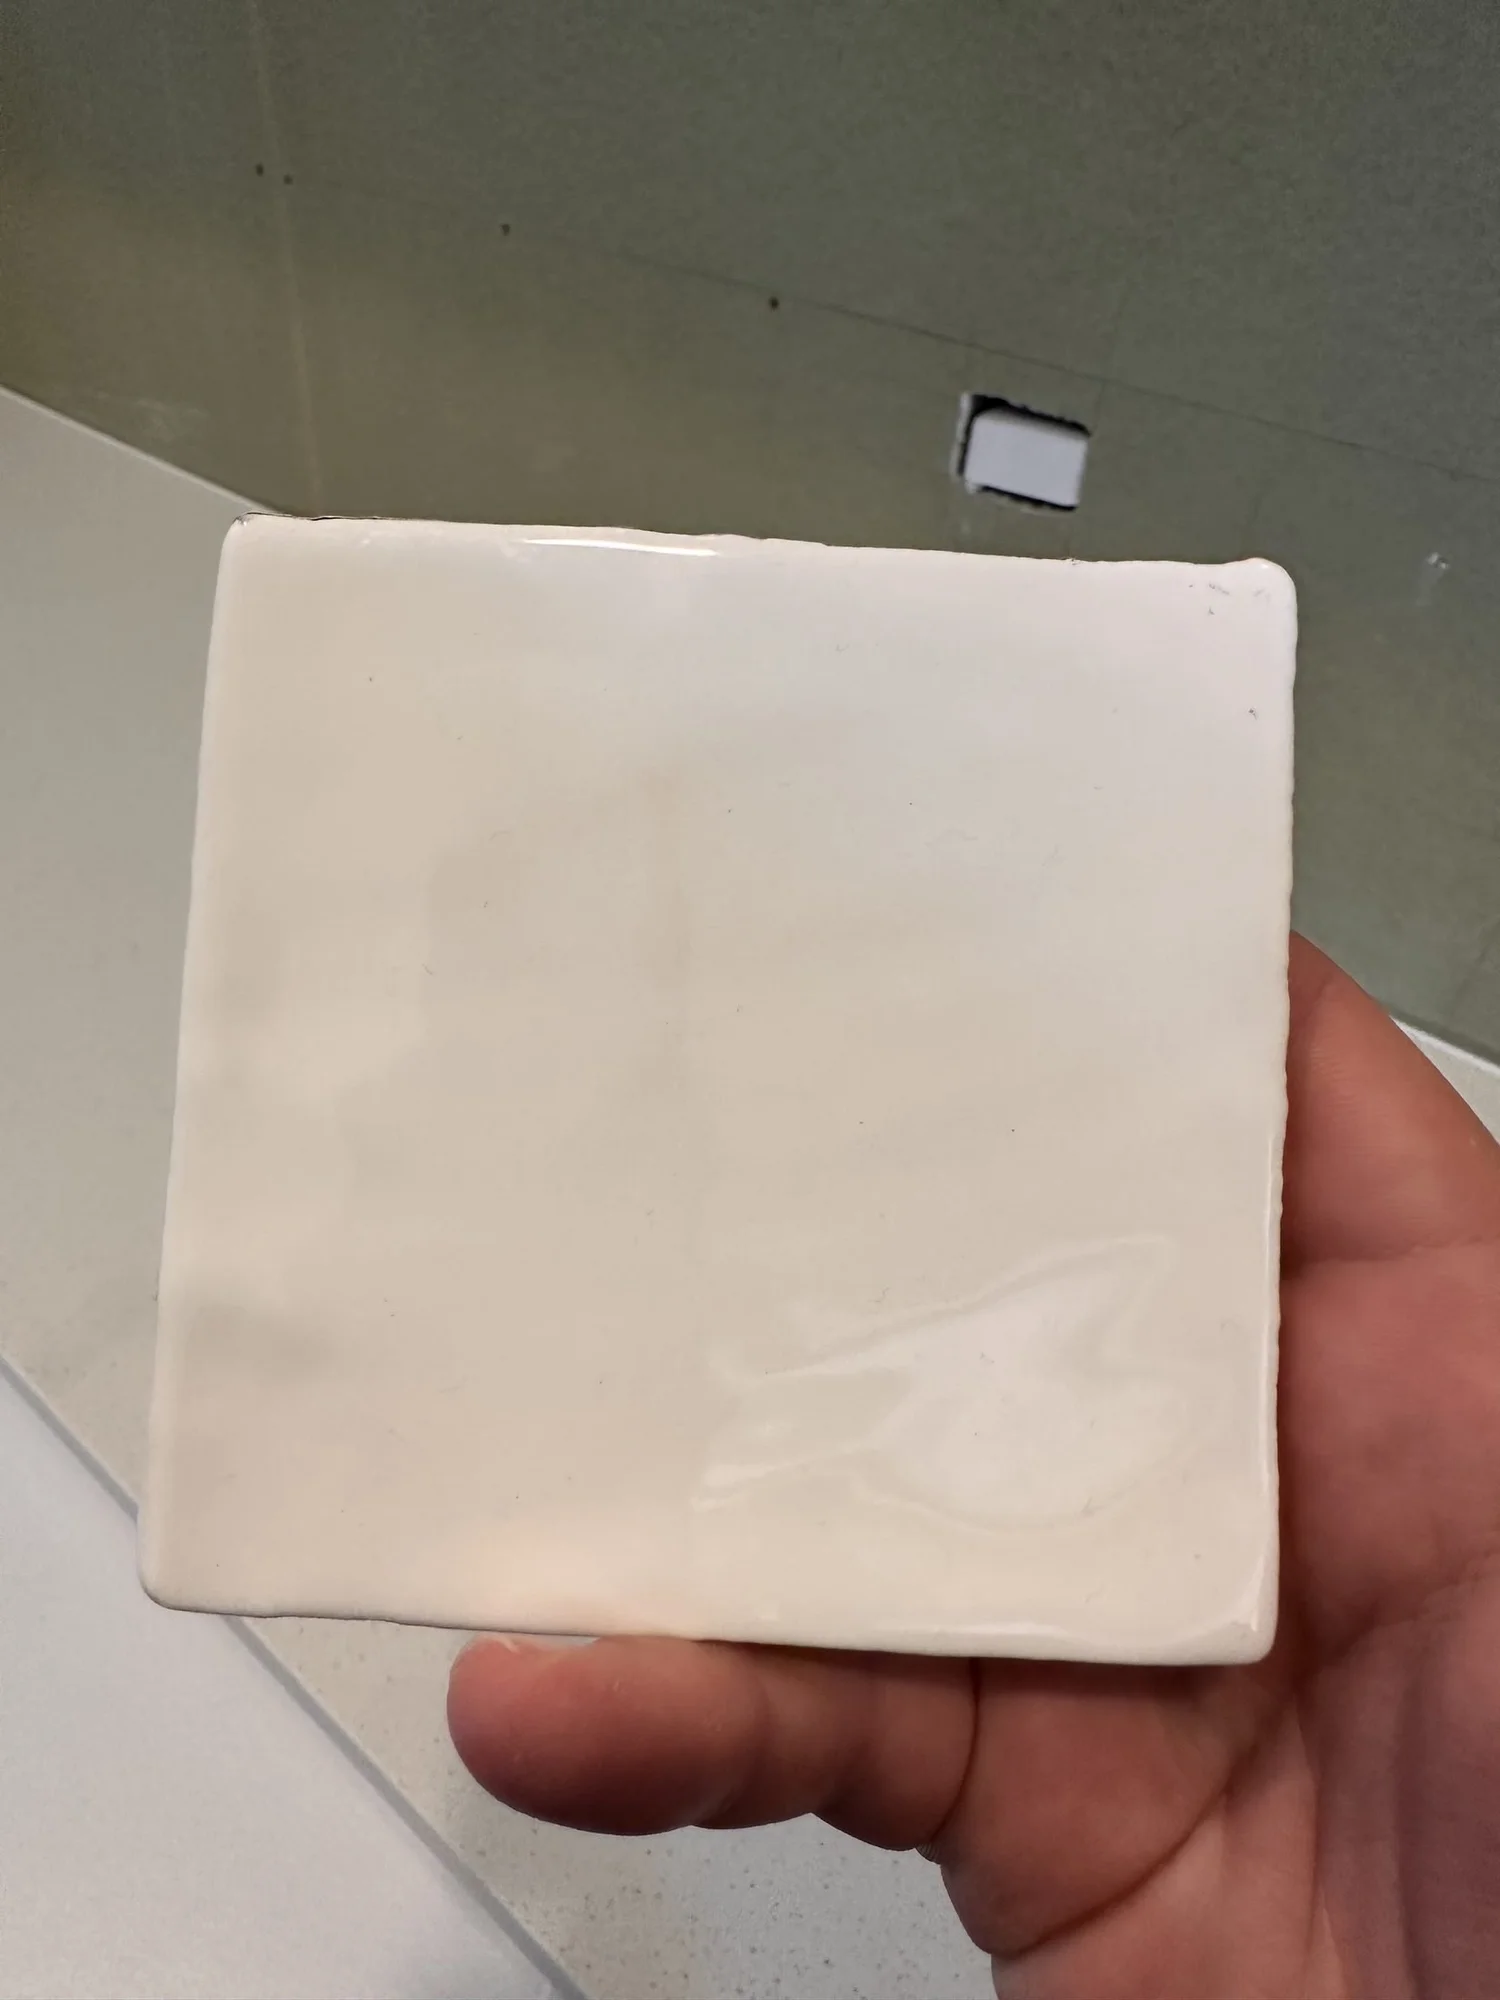
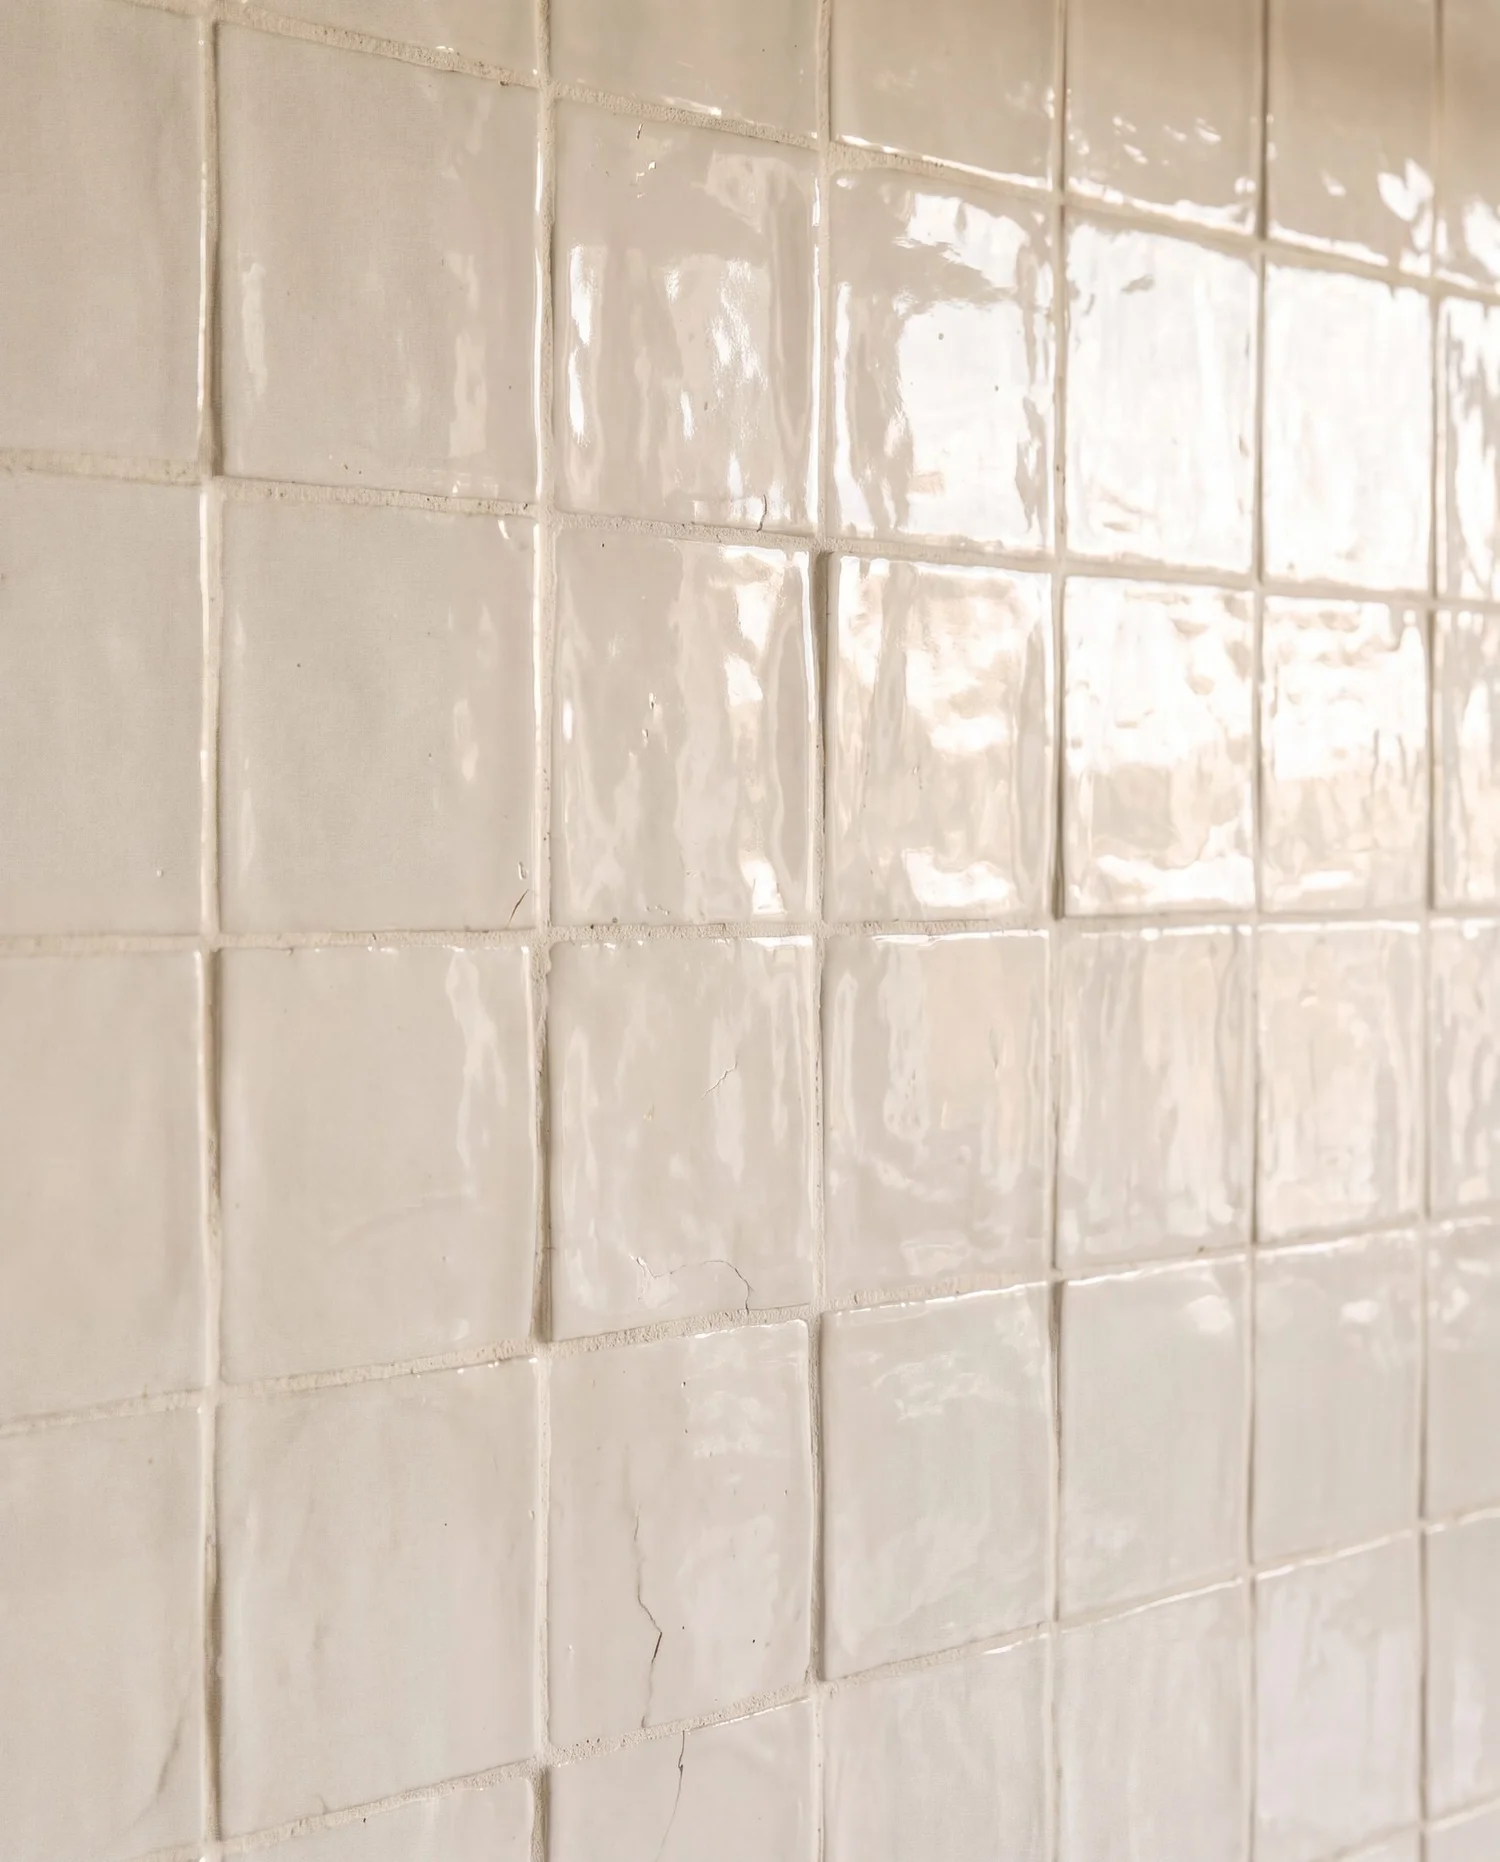
Then the splashback. Handmade Zellige tile, chosen against the board on site rather than off a sample card, because that glaze reads completely differently in the actual light of the actual room.
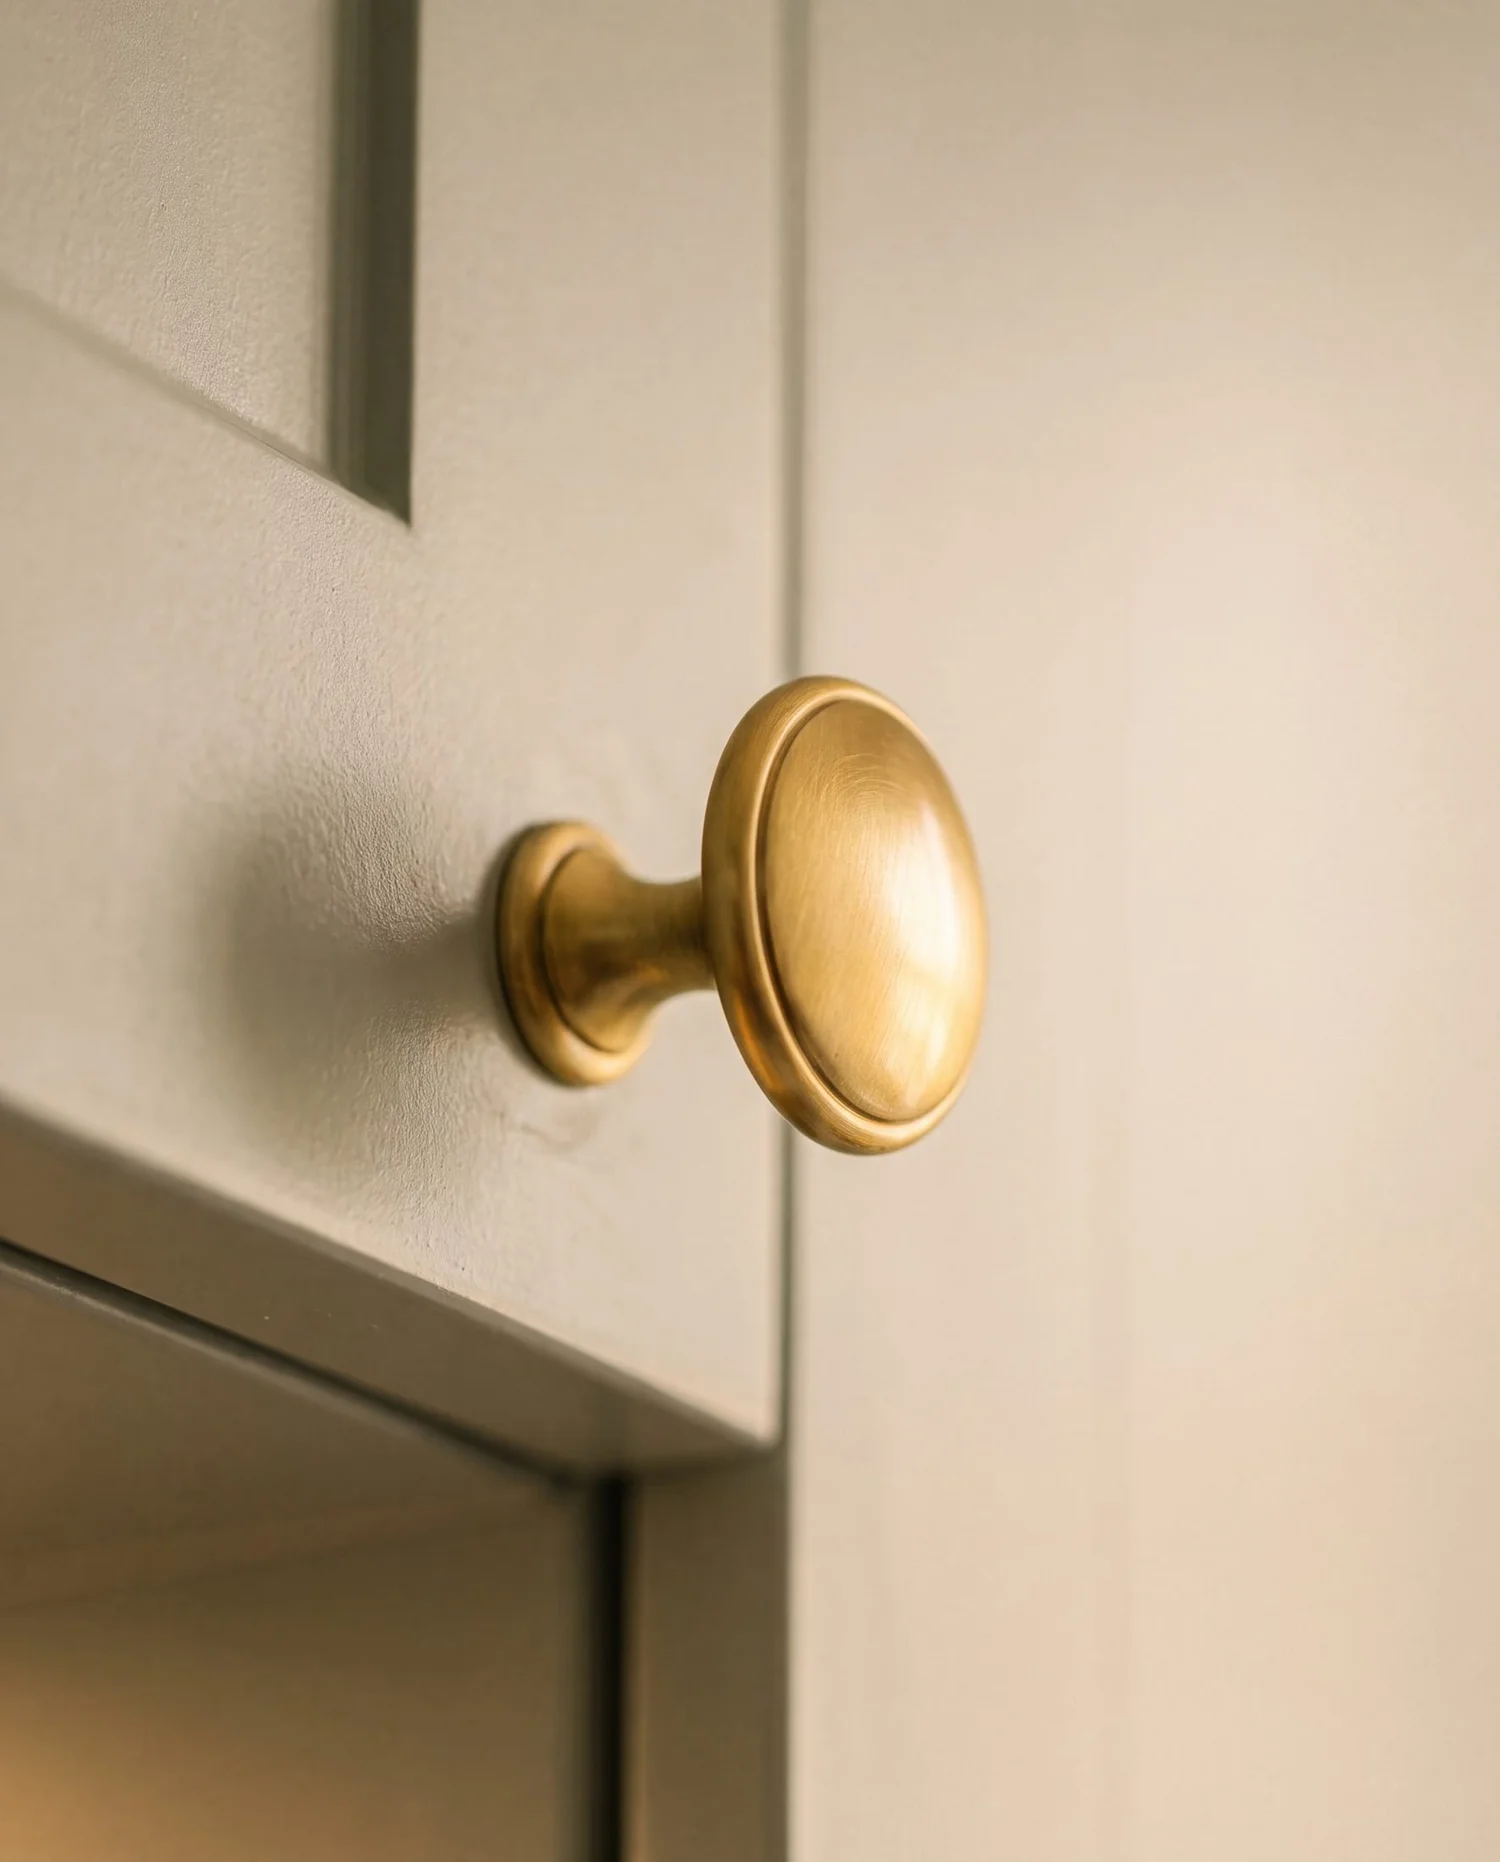
Then fit-off. ABI Interiors brushed brass throughout: gooseneck pull-down mixer, custom knobs and handles, and the full-length hanging rail. Then appliances back in, and paint.
The bit worth stealing
We didn't touch the floor
The existing dark marble-look tile was in good condition, it was neutral, and it worked with sage and brass. So it stayed.
Lifting a tiled floor in a wet area means demolition, waterproofing, new tile, new labour and a delay while it all cures. Keeping a floor that's already good is the single easiest way to put your budget into the things people actually look at: the joinery, the benchtop, the sink and the tapware.
The same floor is in the before shot, the stripped-to-the-studs shot and every finished shot on this page. Most people don't notice. That's the point.
Materials and finishes
What's in the room
- Cabinetry
- Dezignatek Series 3 custom shaker, Pistachio
- Benchtop
- Speckled white engineered stone, full length
- Sink
- White fireclay butler sink
- Tapware
- ABI Interiors, brushed brass gooseneck pull-down mixer
- Splashback
- Handmade Zellige tile
- Hardware
- ABI Interiors custom knobs and handles, full-length brass rail
- Wall linings
- New Aqualine GIB, fully waterproofed
- Storage
- Bin and hamper pull-outs, integrated
- Appliances
- Front-load washer and dryer, side by side under the bench
- Flooring
- Existing dark marble-look tile, retained
The finished laundry
Bayswater, finished
More on laundries
Thinking about your own laundry?
Get a free, tailored estimate using real Auckland pricing. No obligation, no sales pressure.
Get my free estimate or book a free consult